1. Project Details
This section outlines the essential details of your WordPress project, including URLs, theme information, and a list of installed plugins.
| Detail |
Description |
| Project Name |
Xcellerators Event Landing Page |
| Live URL |
https://xcellerators.com/ |
| WordPress Version |
6.8.3 |
| Theme Name |
xcellerator-theme |
| Theme Version |
1.1 |
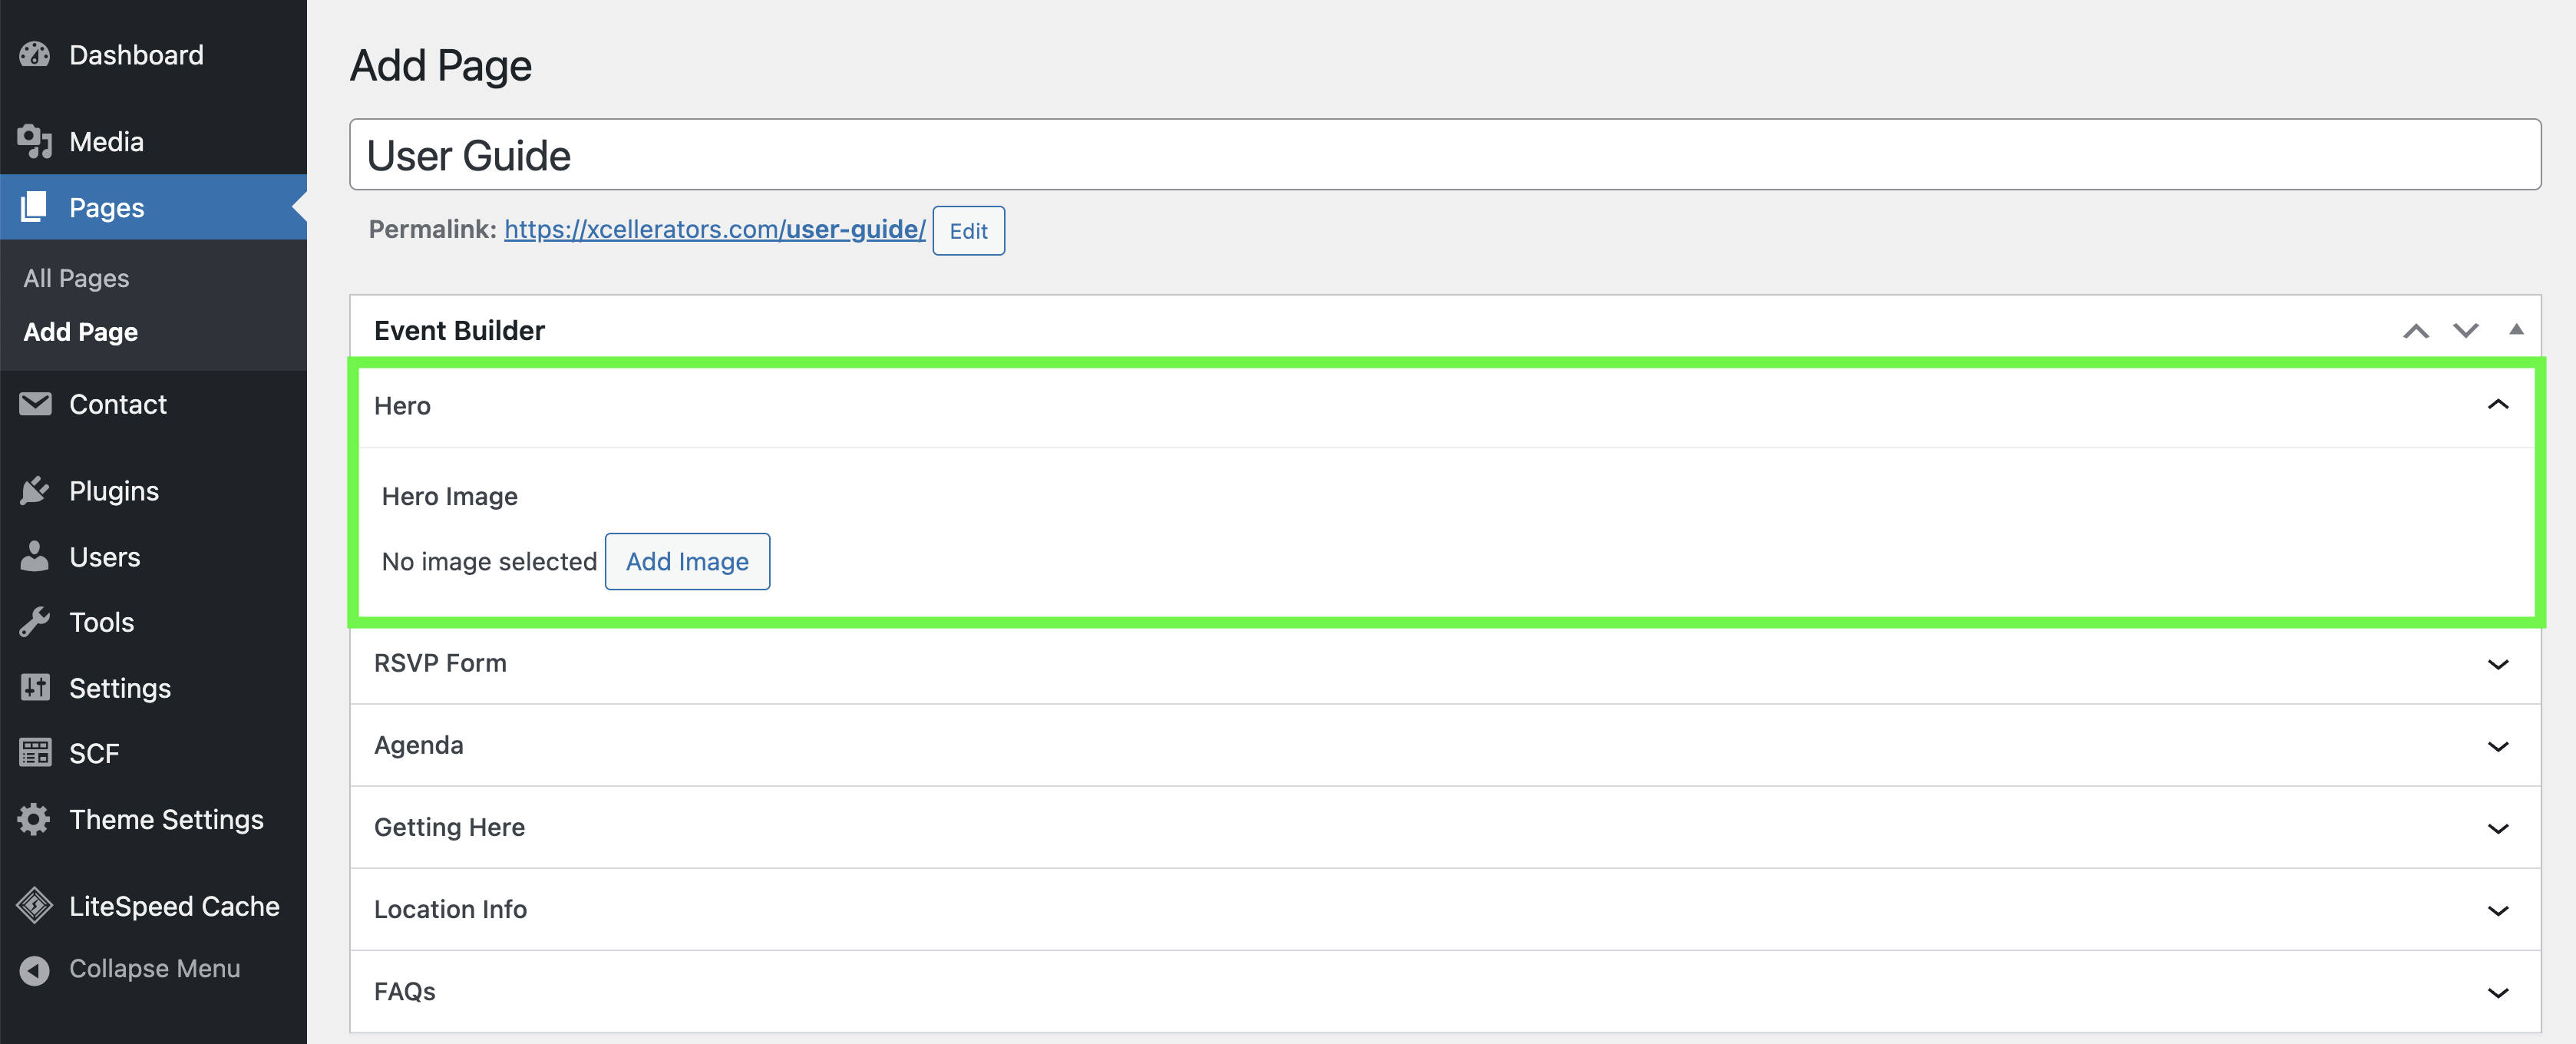
2. How to Edit the Hero section
The hero component is the main banner image at the top of the event page. You can update the main hero image to reflect the event.
Finding the Settings
- From the WordPress dashboard, navigate to Pages > All Pages.
- Select the page you want to edit.
- You will find a section or panel titled "Hero".
Step-by-Step Instructions
- Click on the Hero accordion to open the settings.
- Click on the Add Image button to open the media library.
- Select the image you want to use for the hero banner.
- Click the main Update button, or if it's a new page the Publish button for the page.

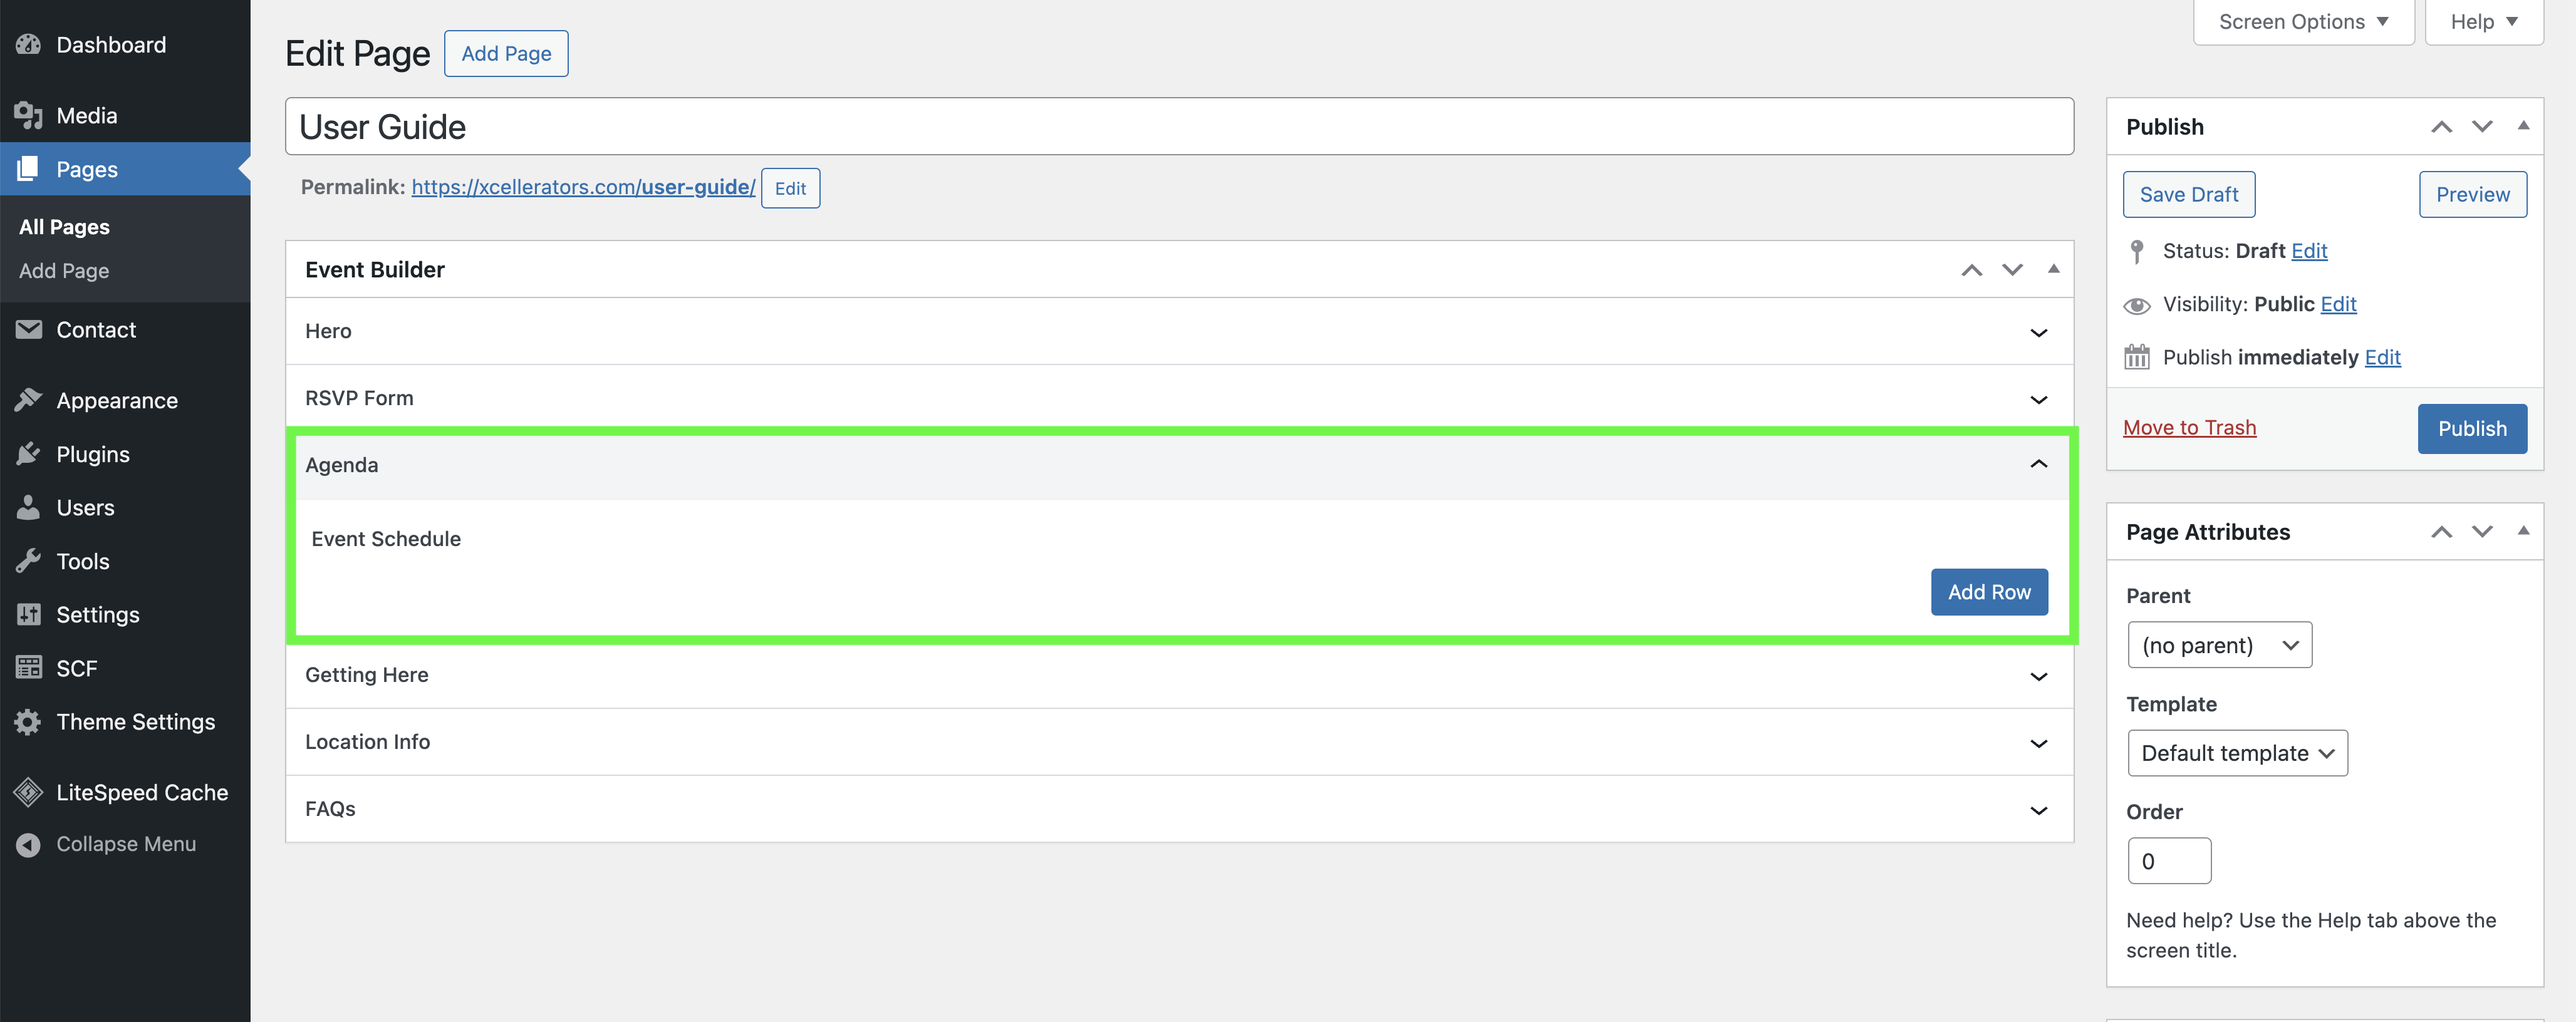
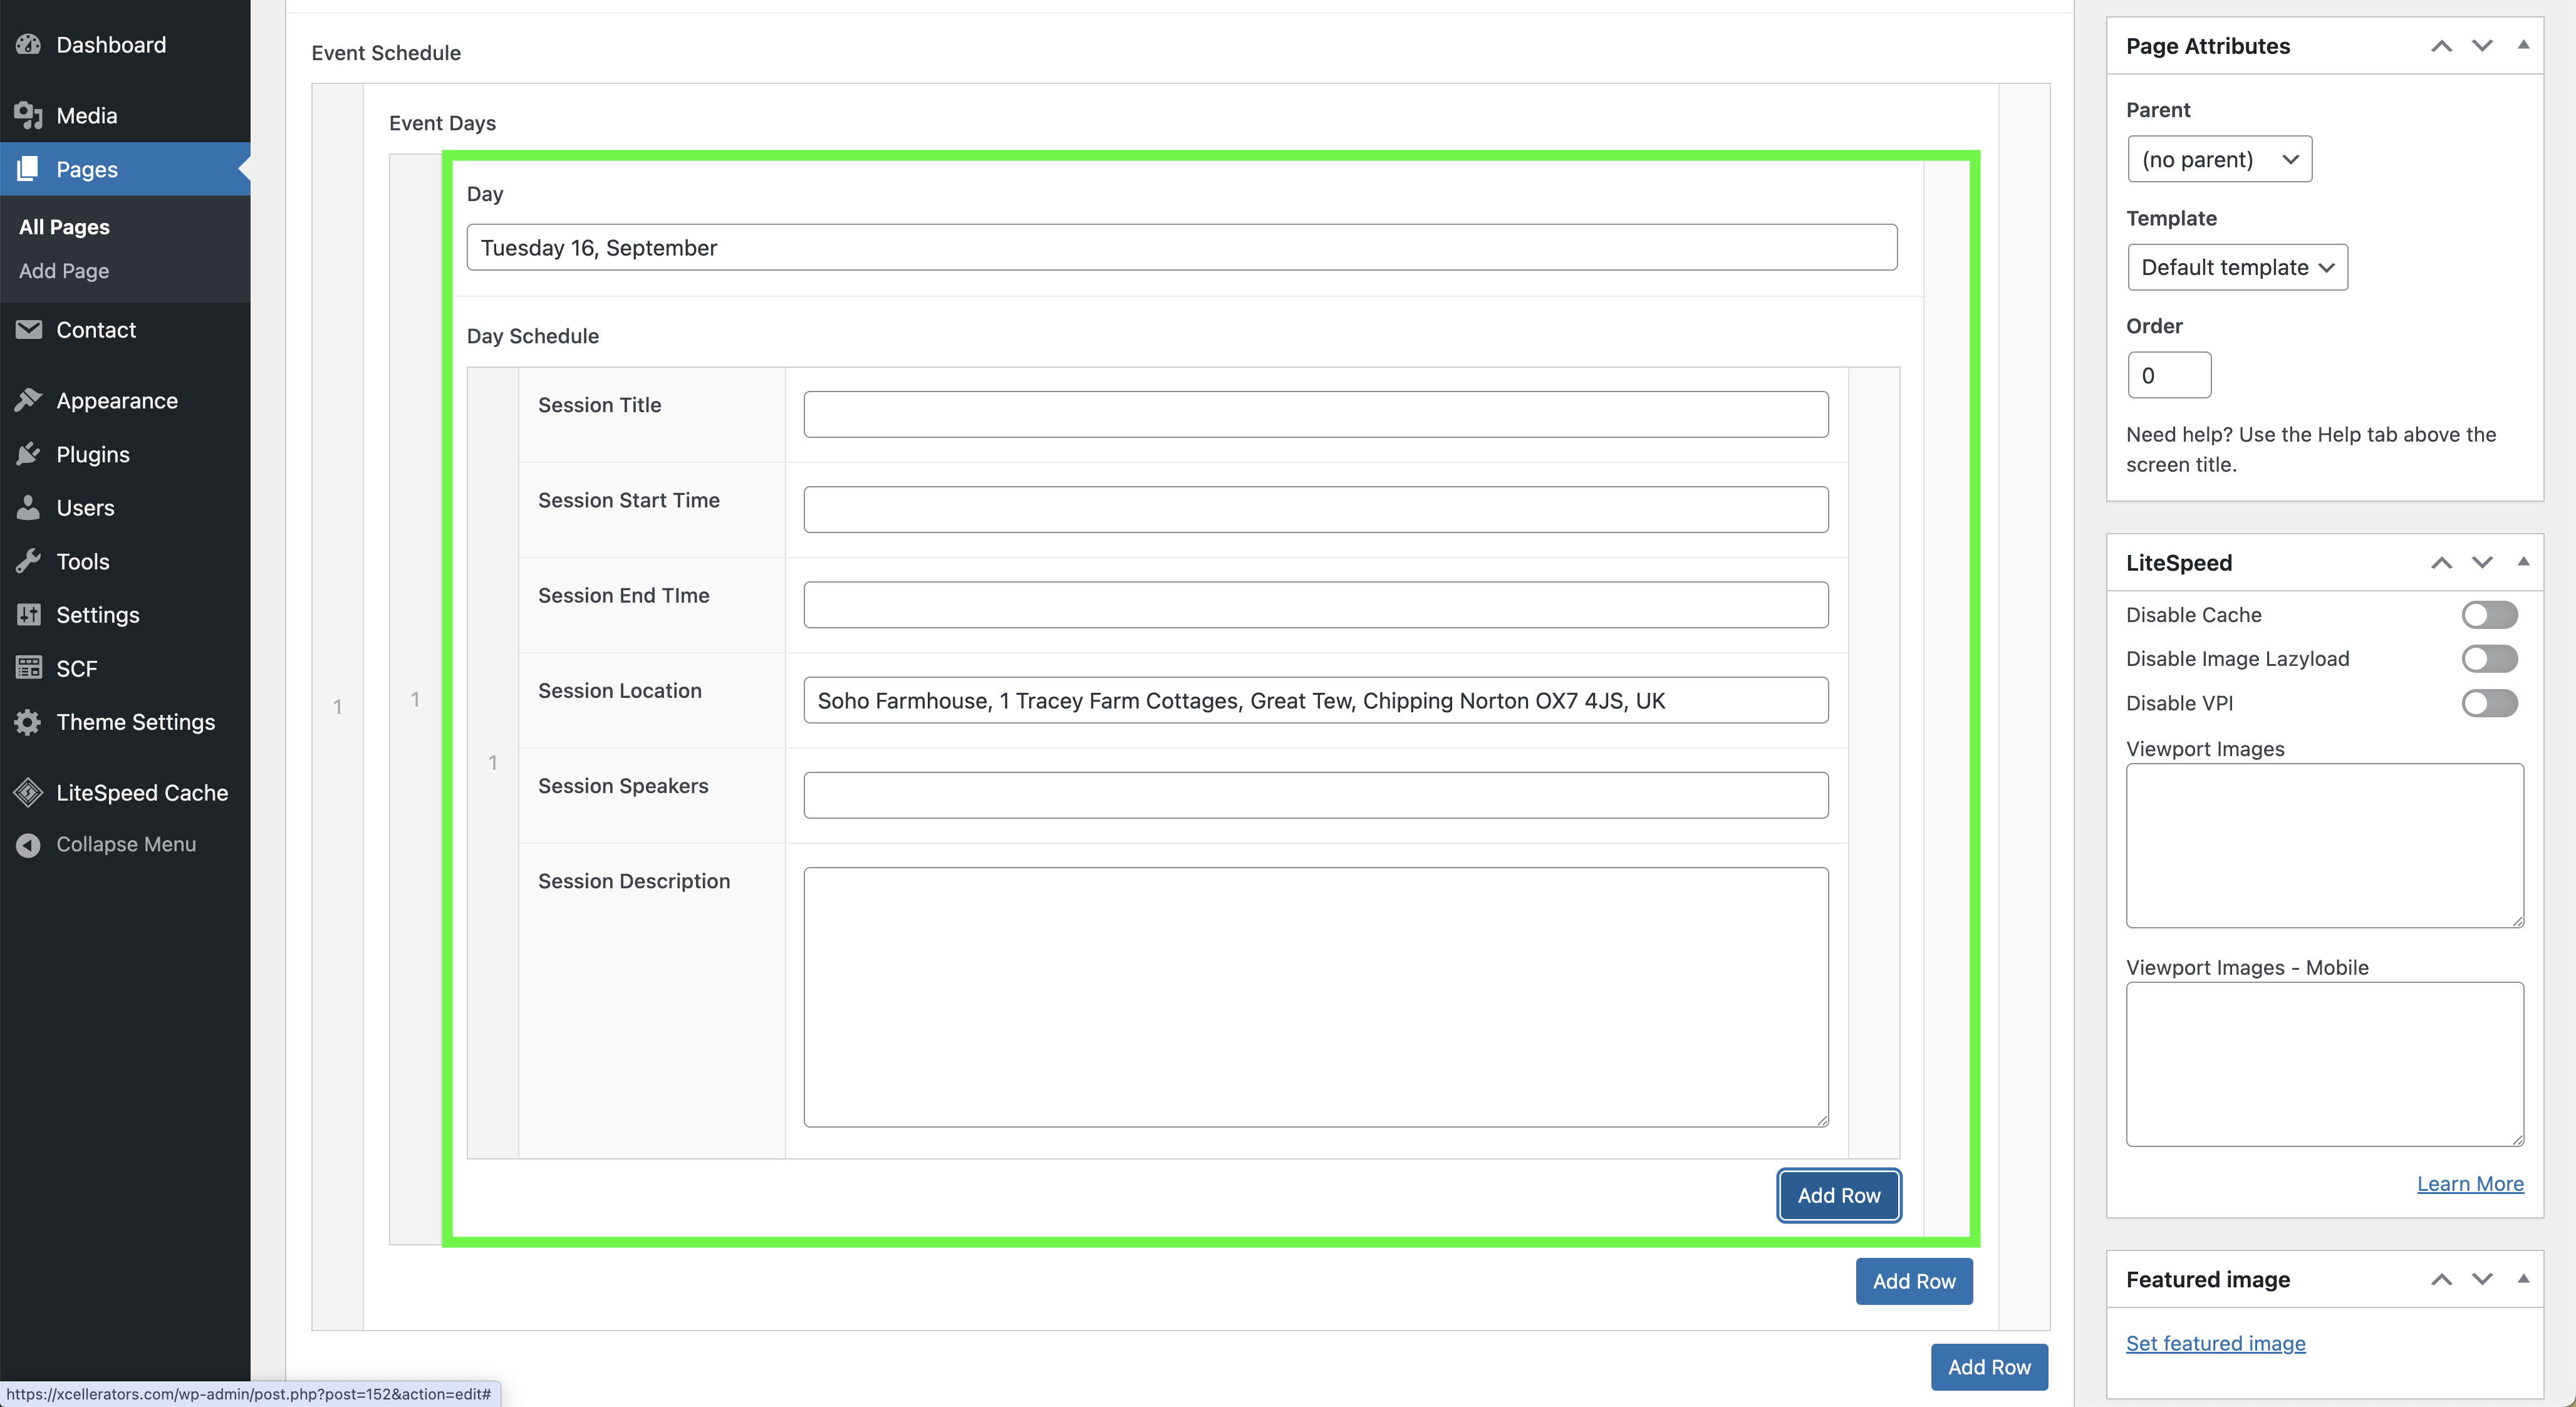
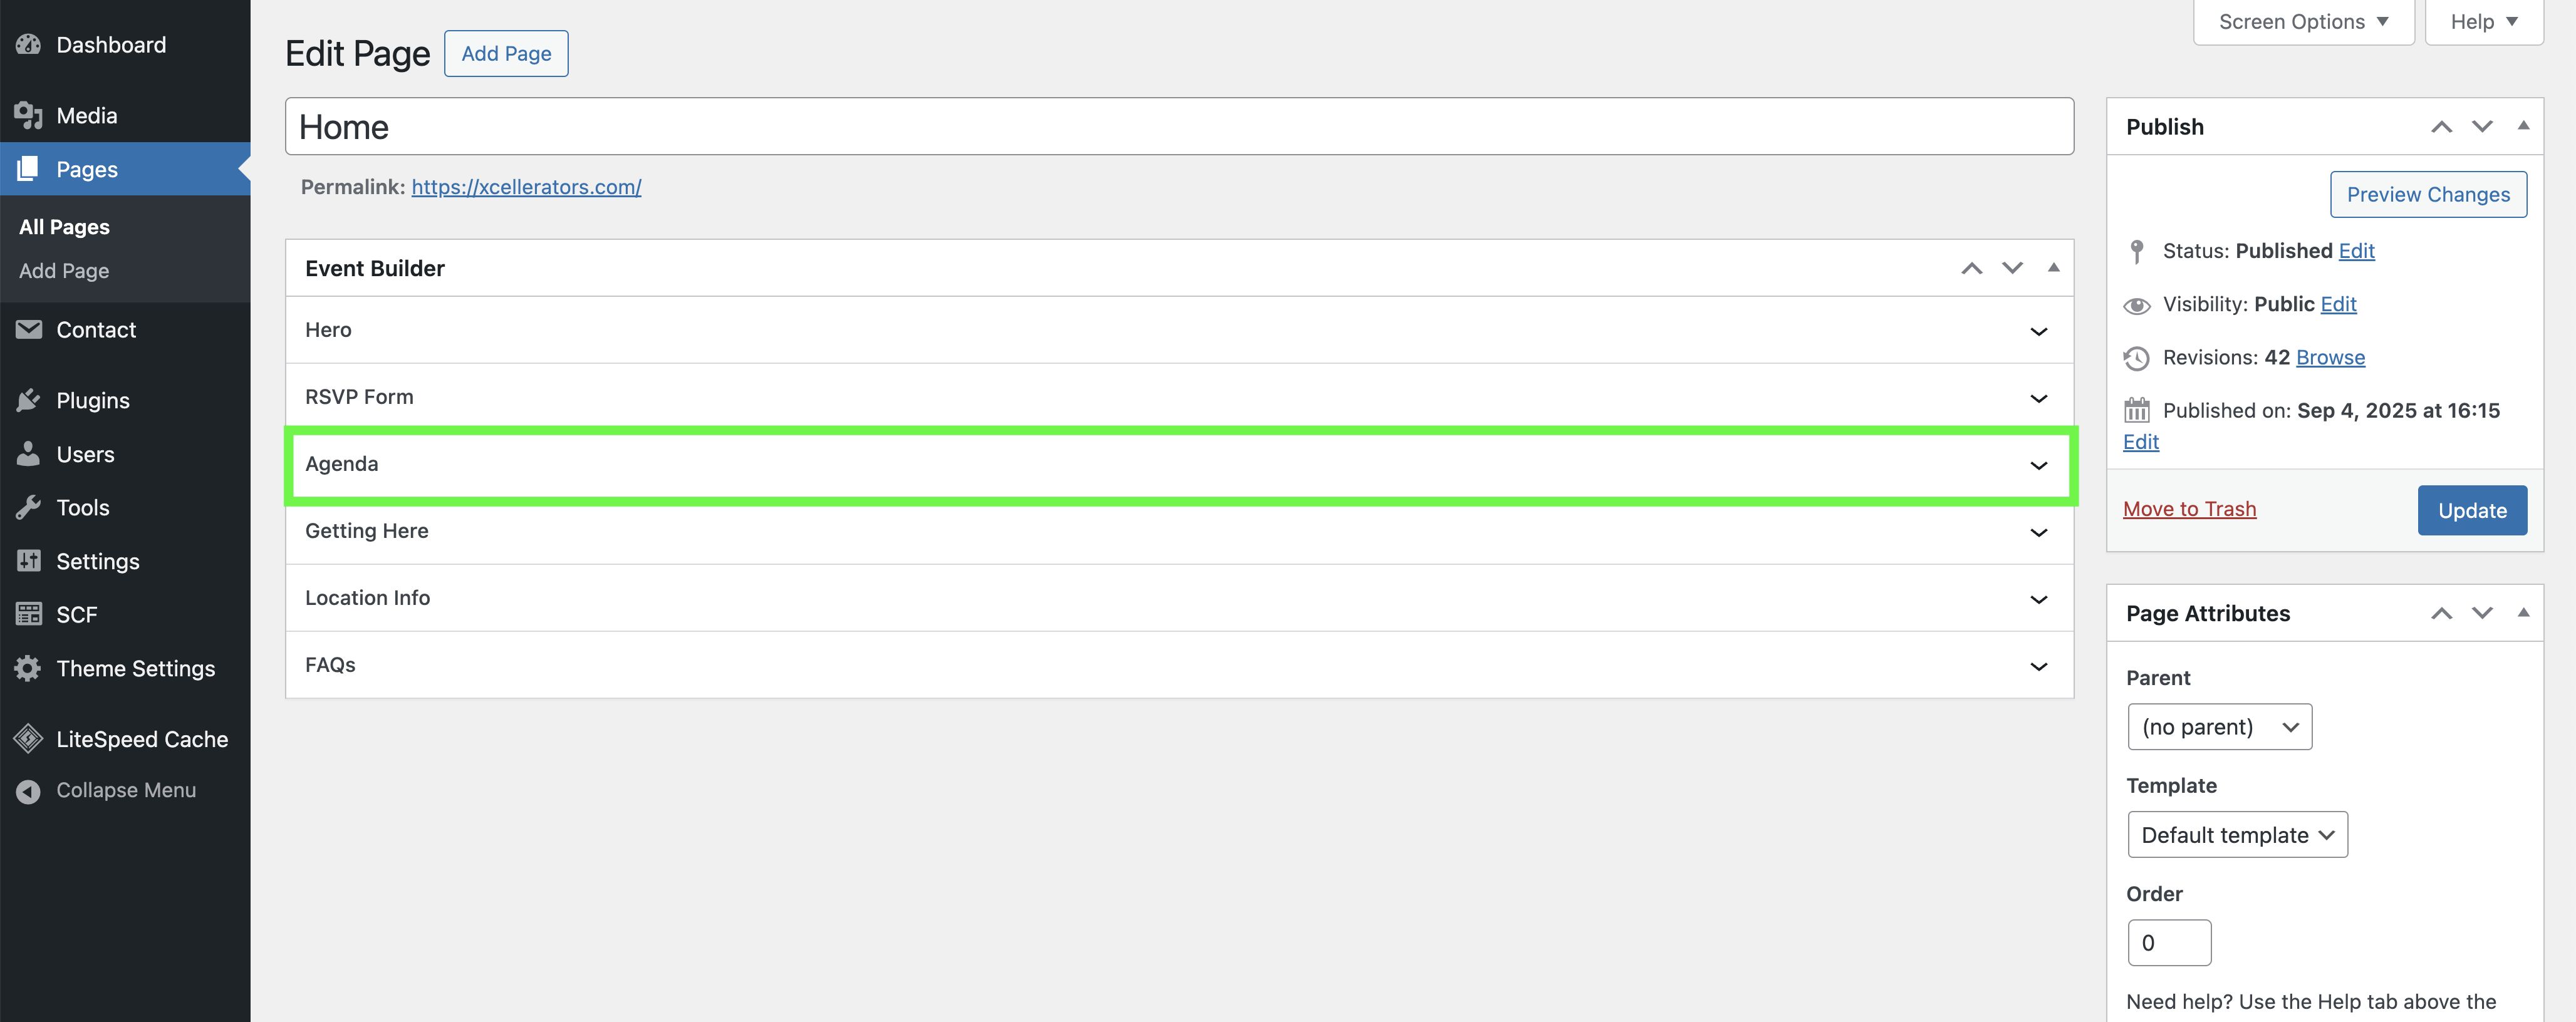
How to Edit the Agenda
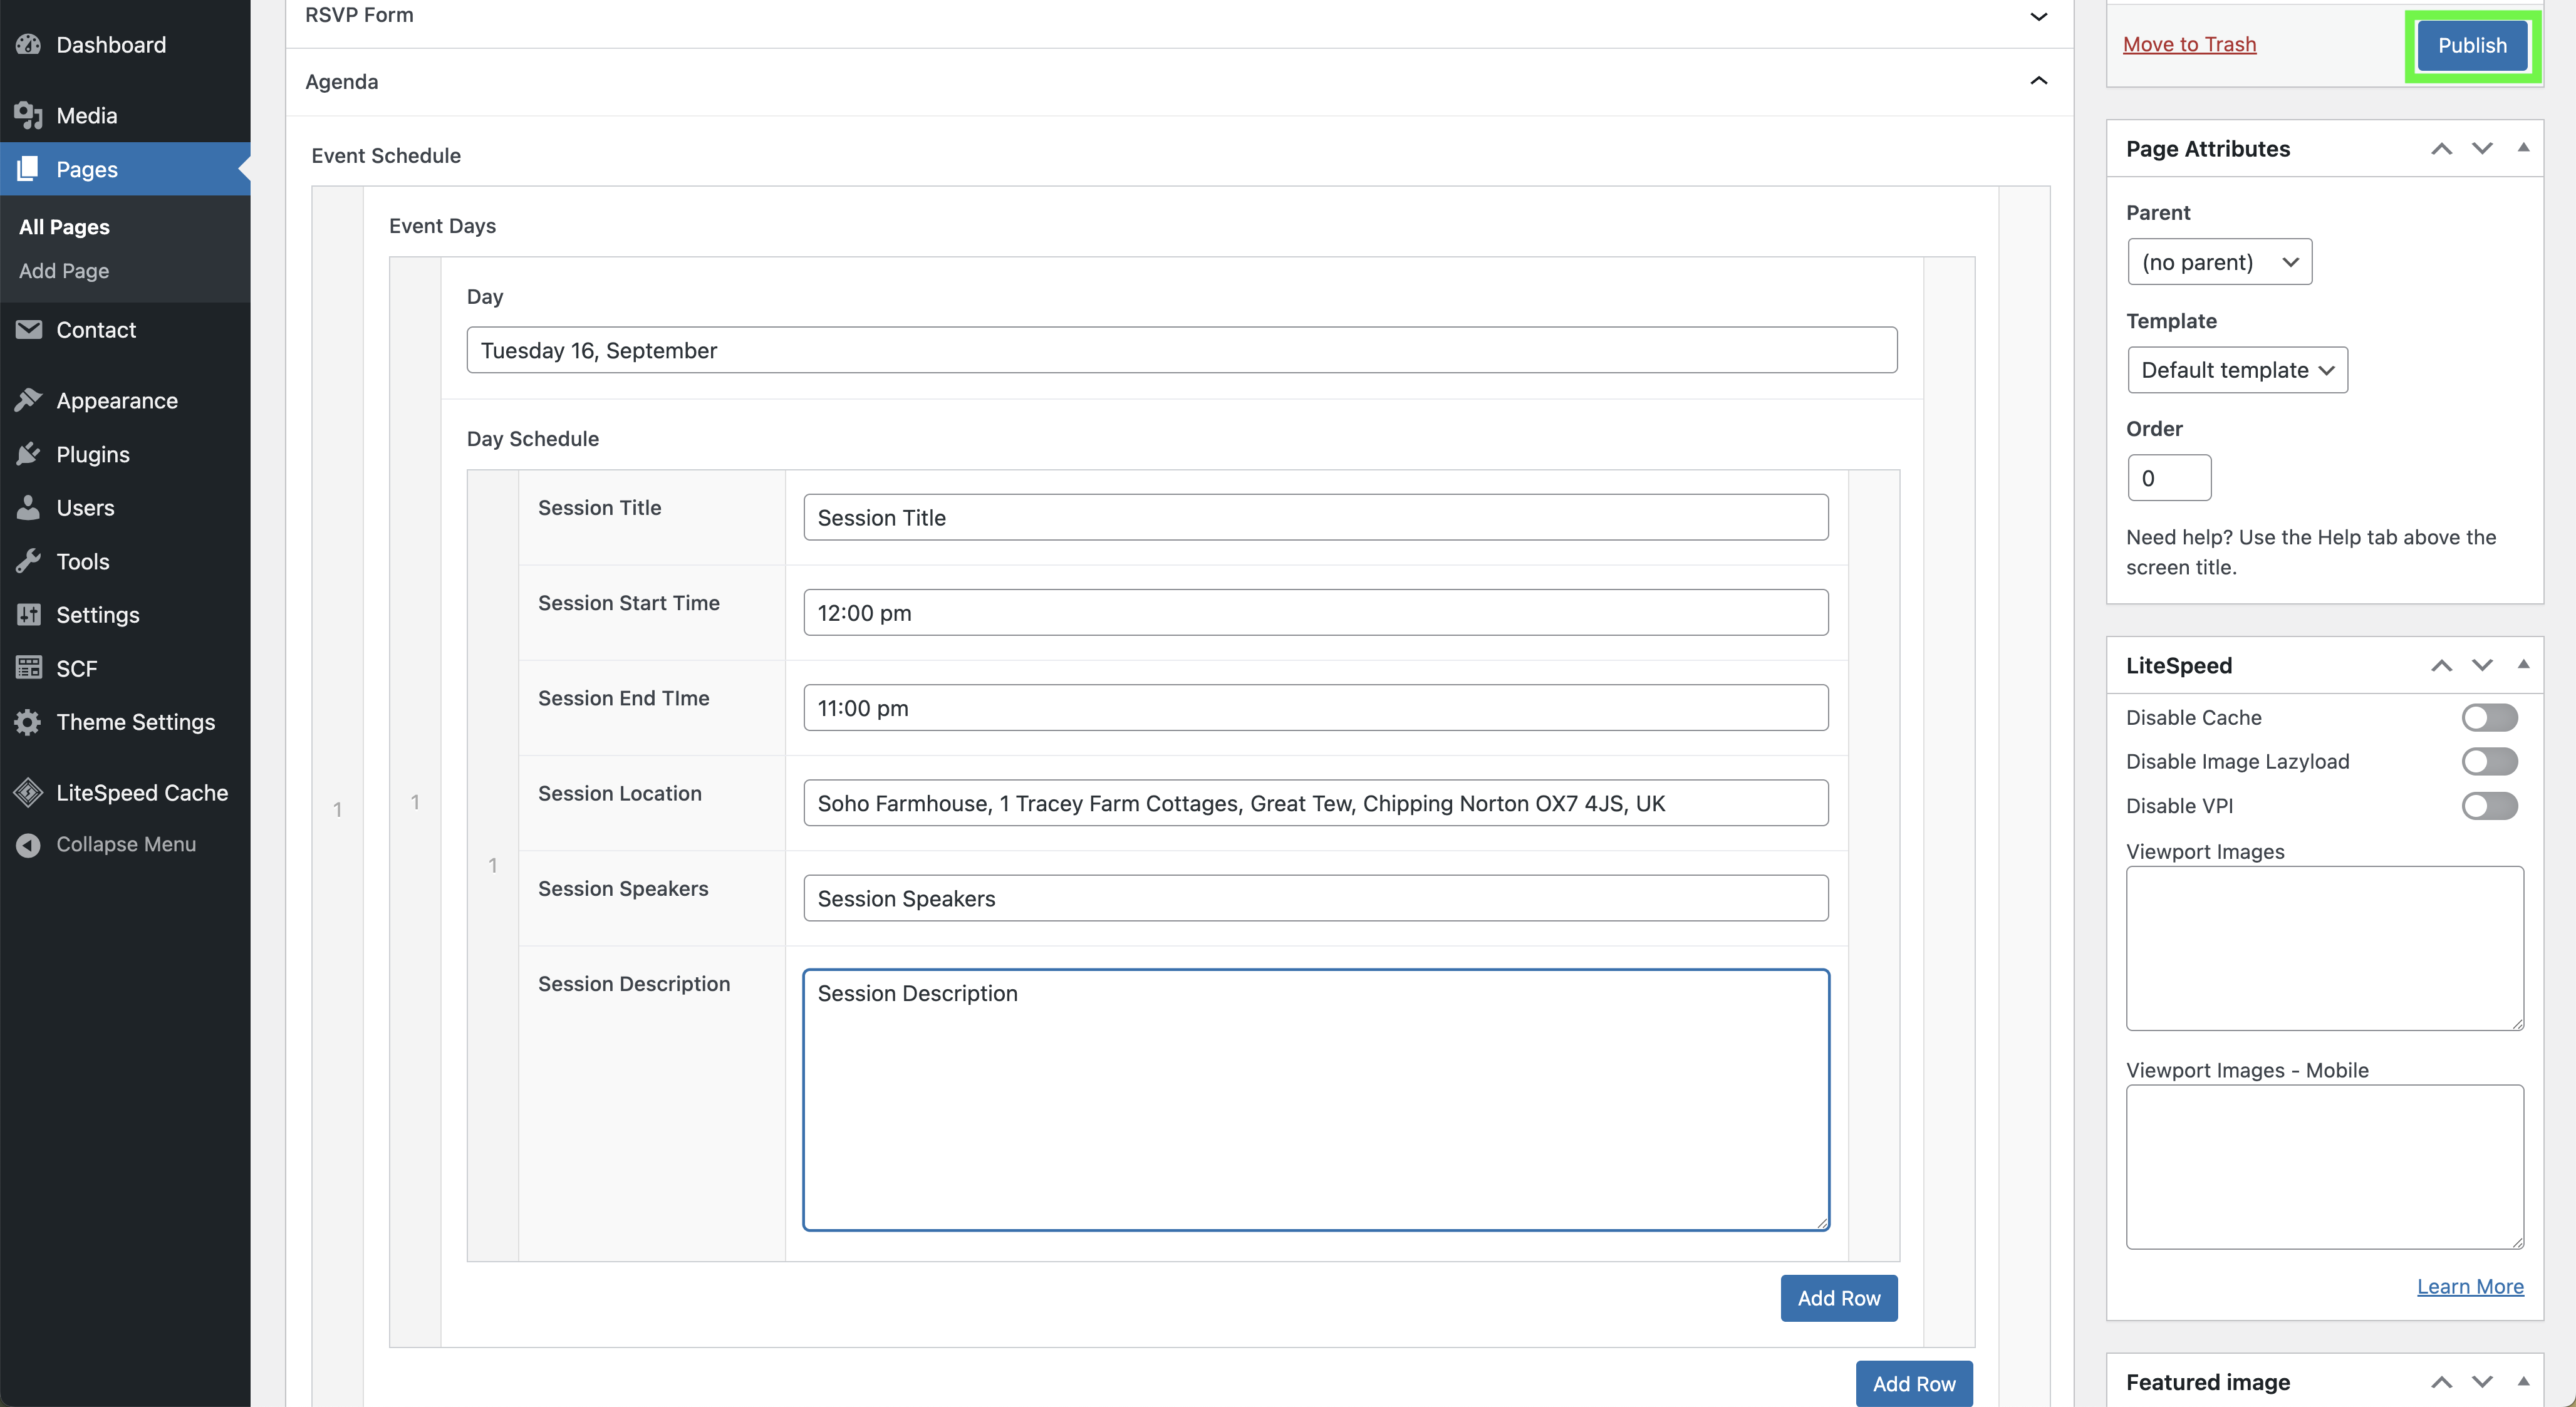
The event schedule component is for managing the agenda for the event. You can add multiple days and multiple sessions for each day.
Finding the Settings
- From the WordPress dashboard, navigate to Pages > All Pages.
- Select the page you want to edit.
- You will find a section or panel titled "Agenda".
Step-by-Step Instructions
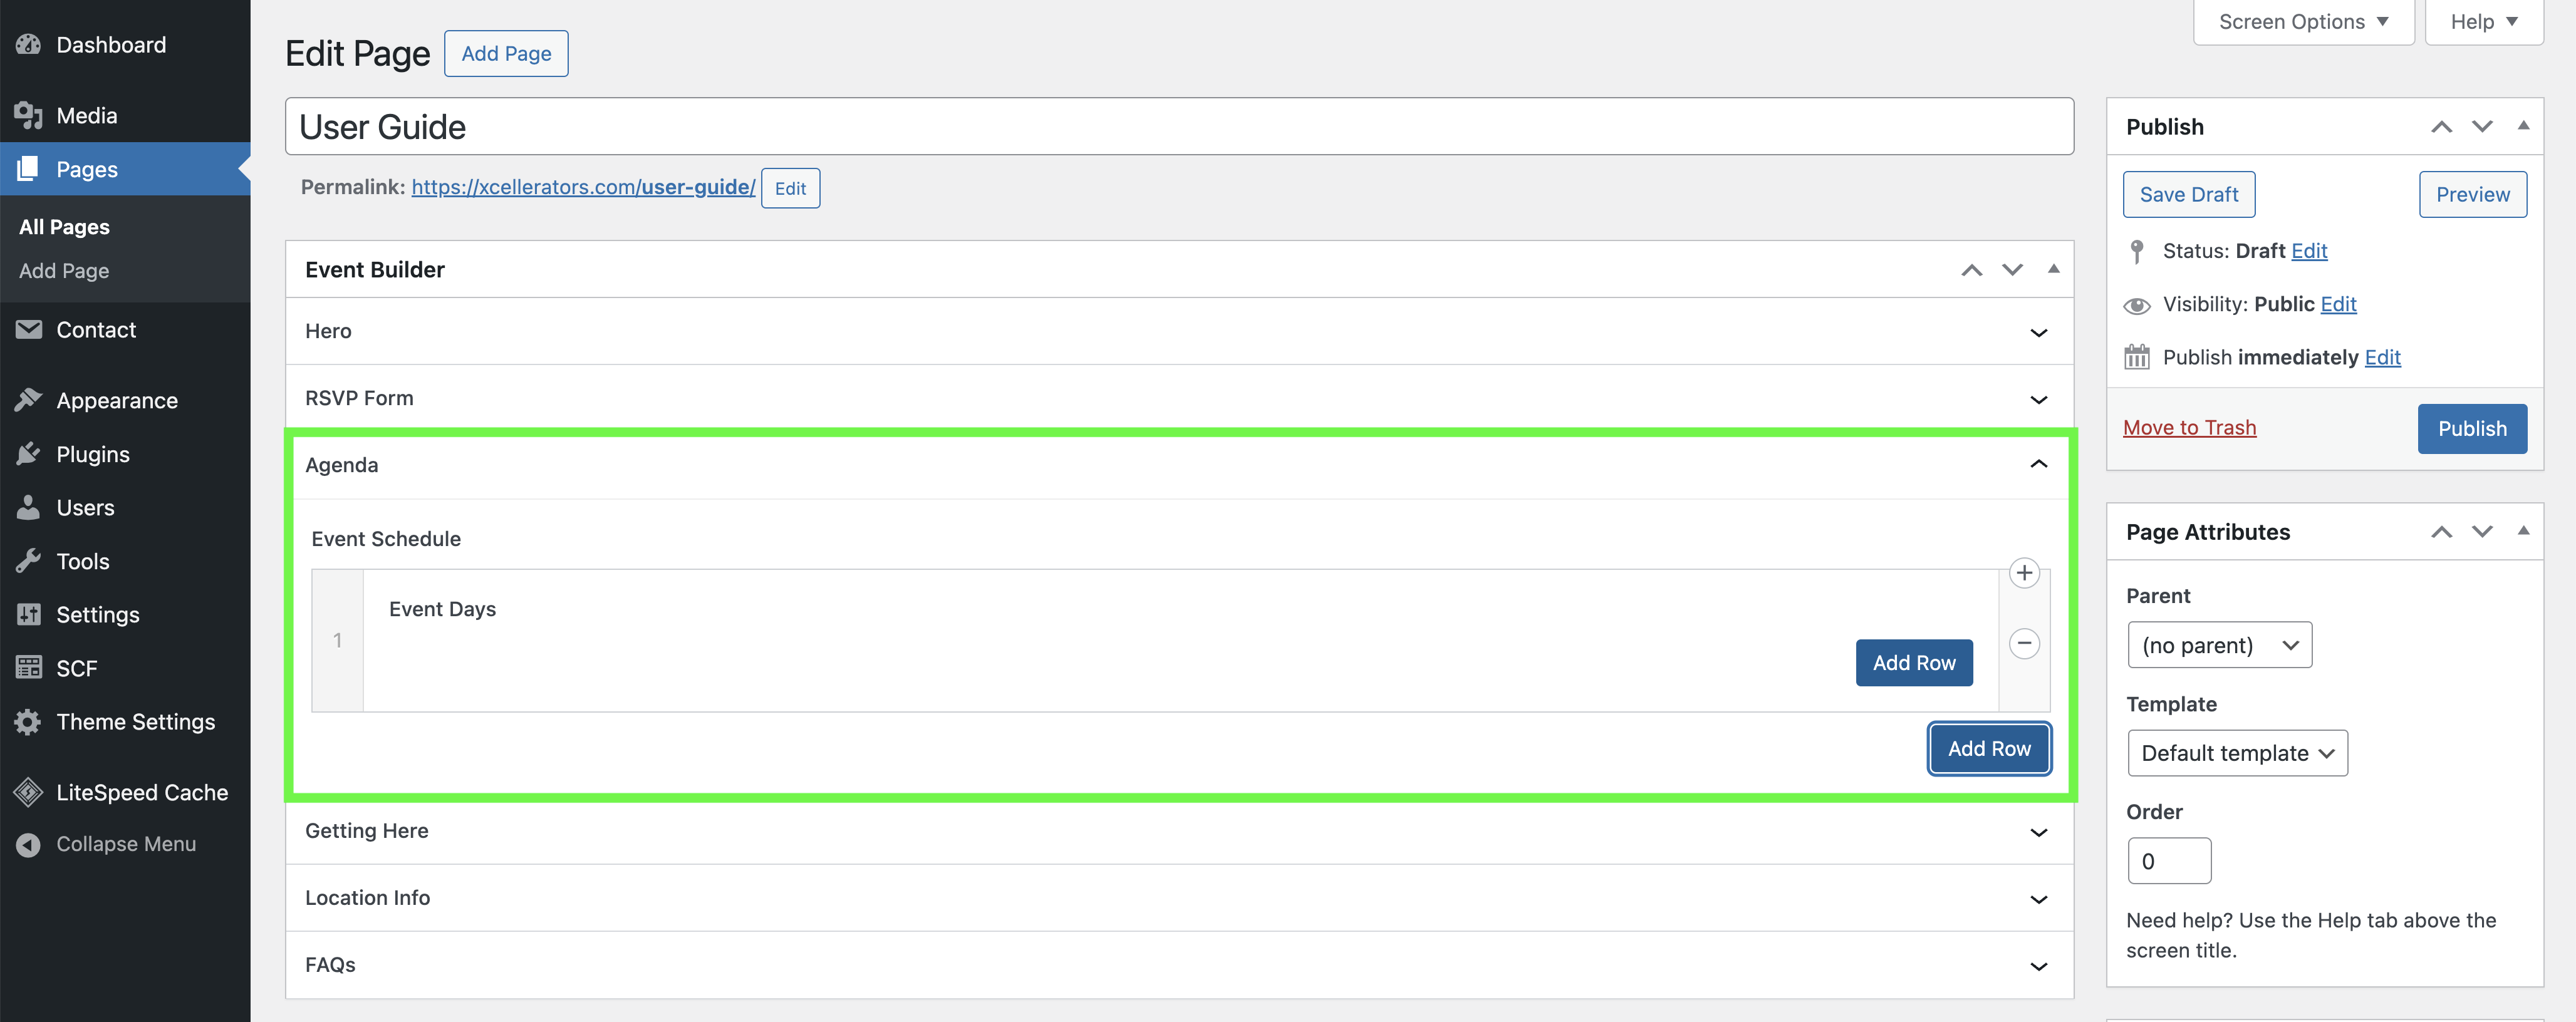
- Click on the Agenda accordion to open the settings.
- Click on the Add Row button to add a new event schedule.
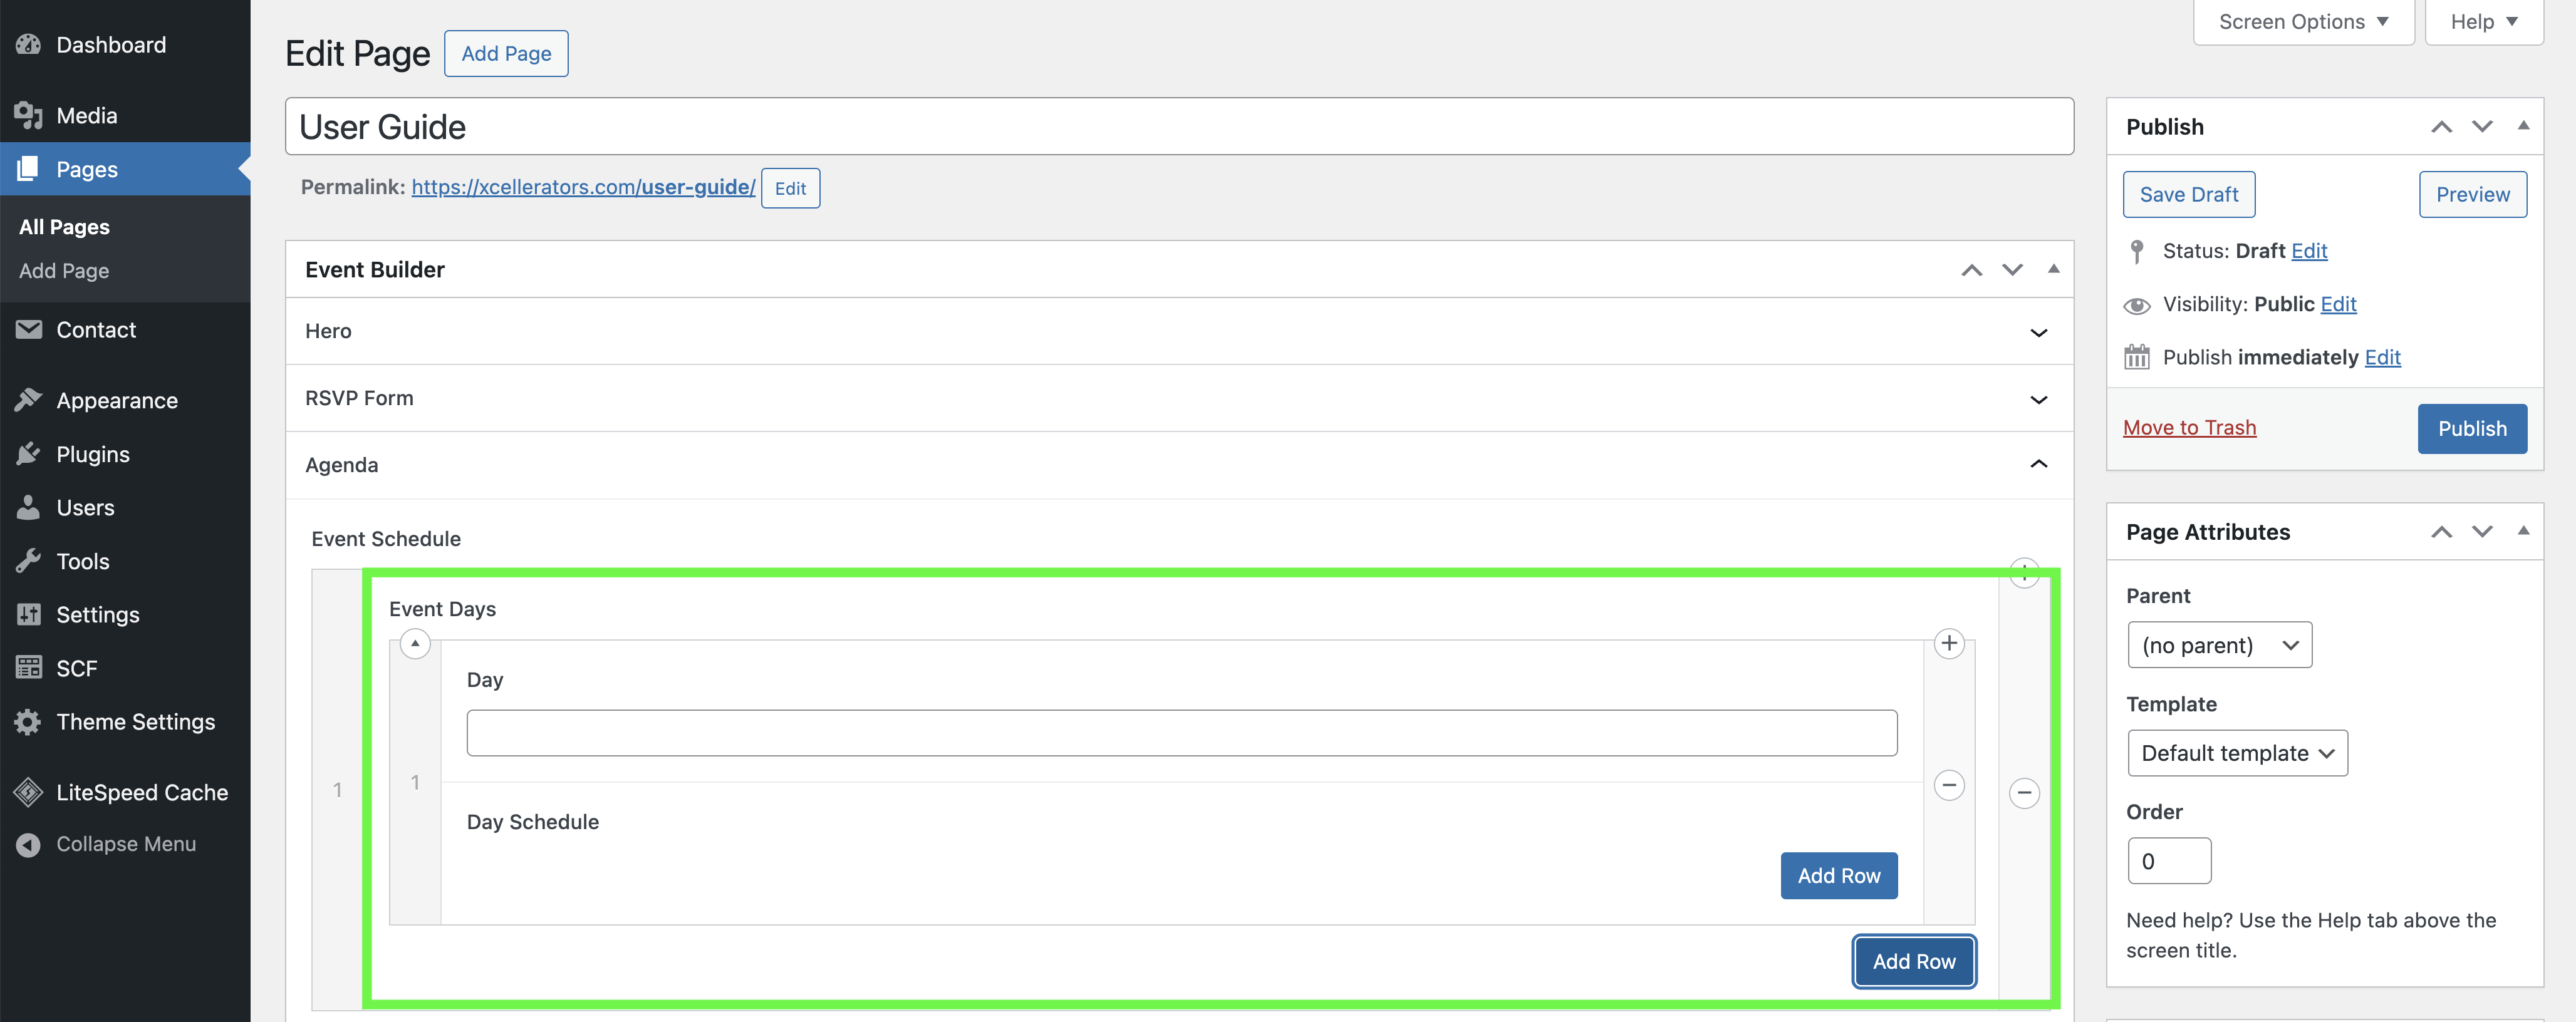
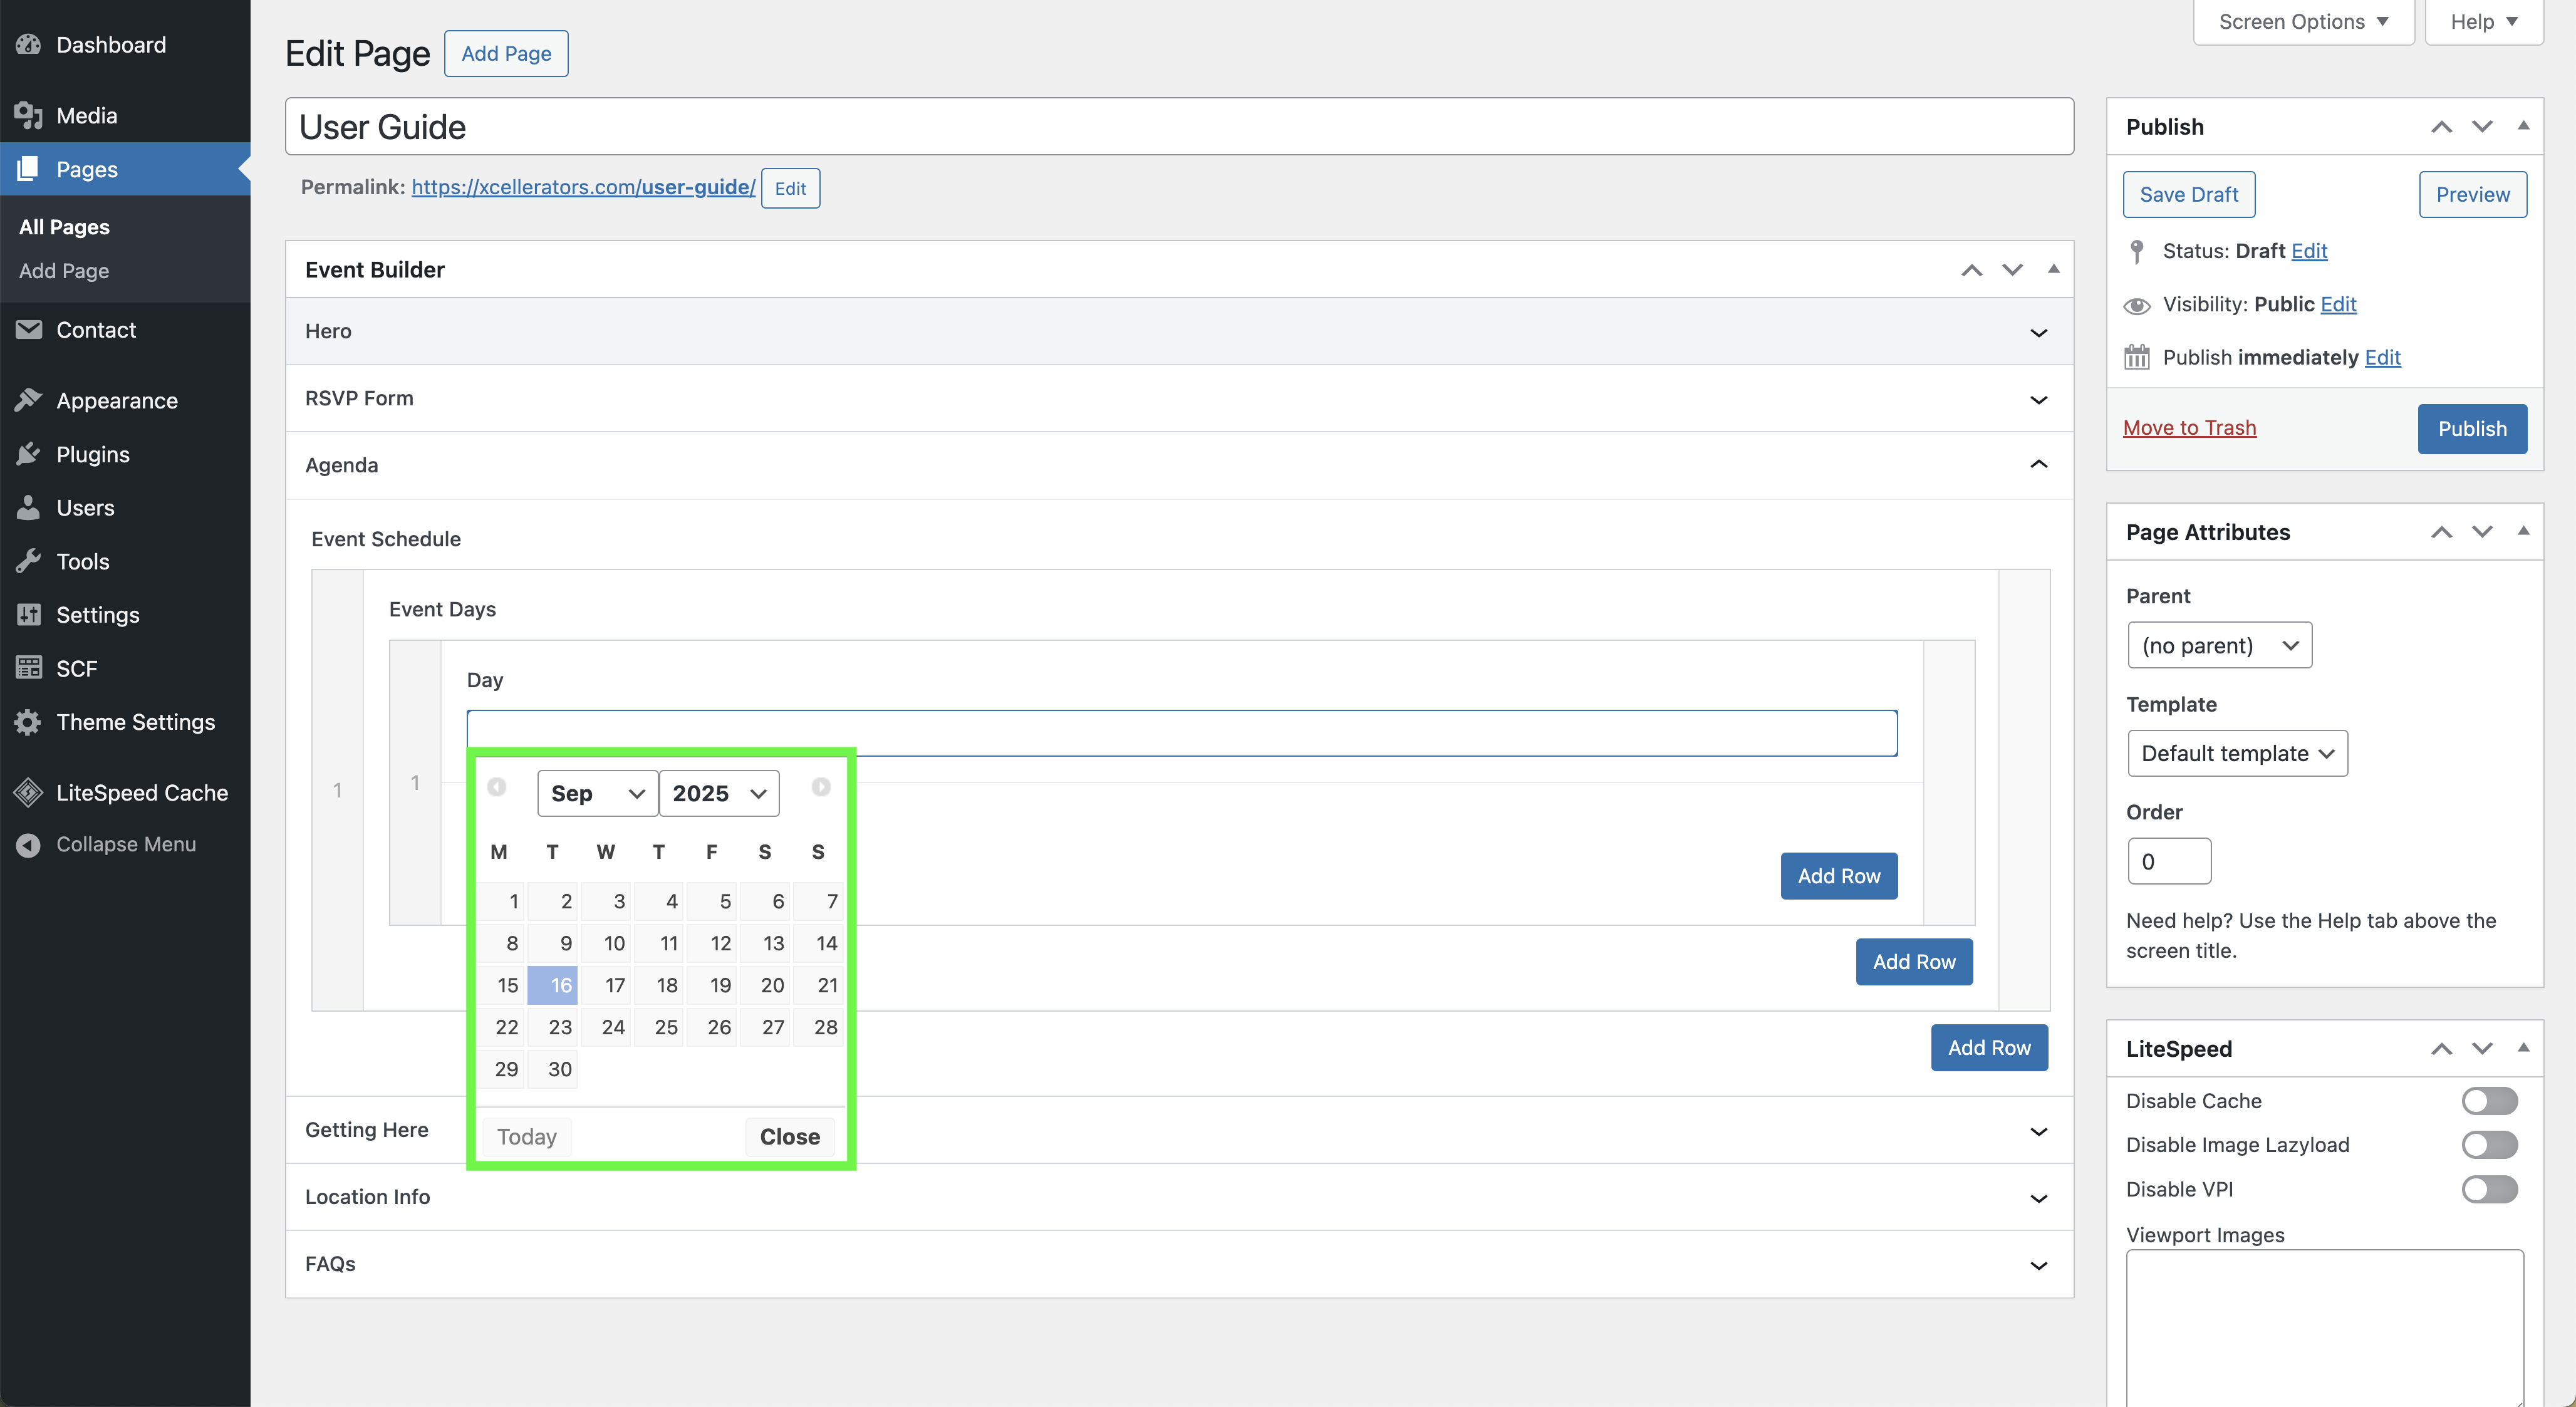
- Click on the Add Row button under Event Days to add a new day.
- Select the Day from the date picker.
- Click on the Add Row button under Day Schedule to add a new session.
- Fill in the Session Title, Session Start Time, Session End Time, Session Location, Session Speakers, and Session Description.
- Click the main Update button, or if it's a new page the Publish button for the page.
Best Practices & Tips
- You can add multiple event schedules, days, and sessions.
- Always remember to click the main Update or Publish button on the page to make your changes live.
- Once the page is saved, clicking Add to Calendar will add the day's schedule to a new calendar event. The event will start at the time of the first session and end at the time of the last session for that day.
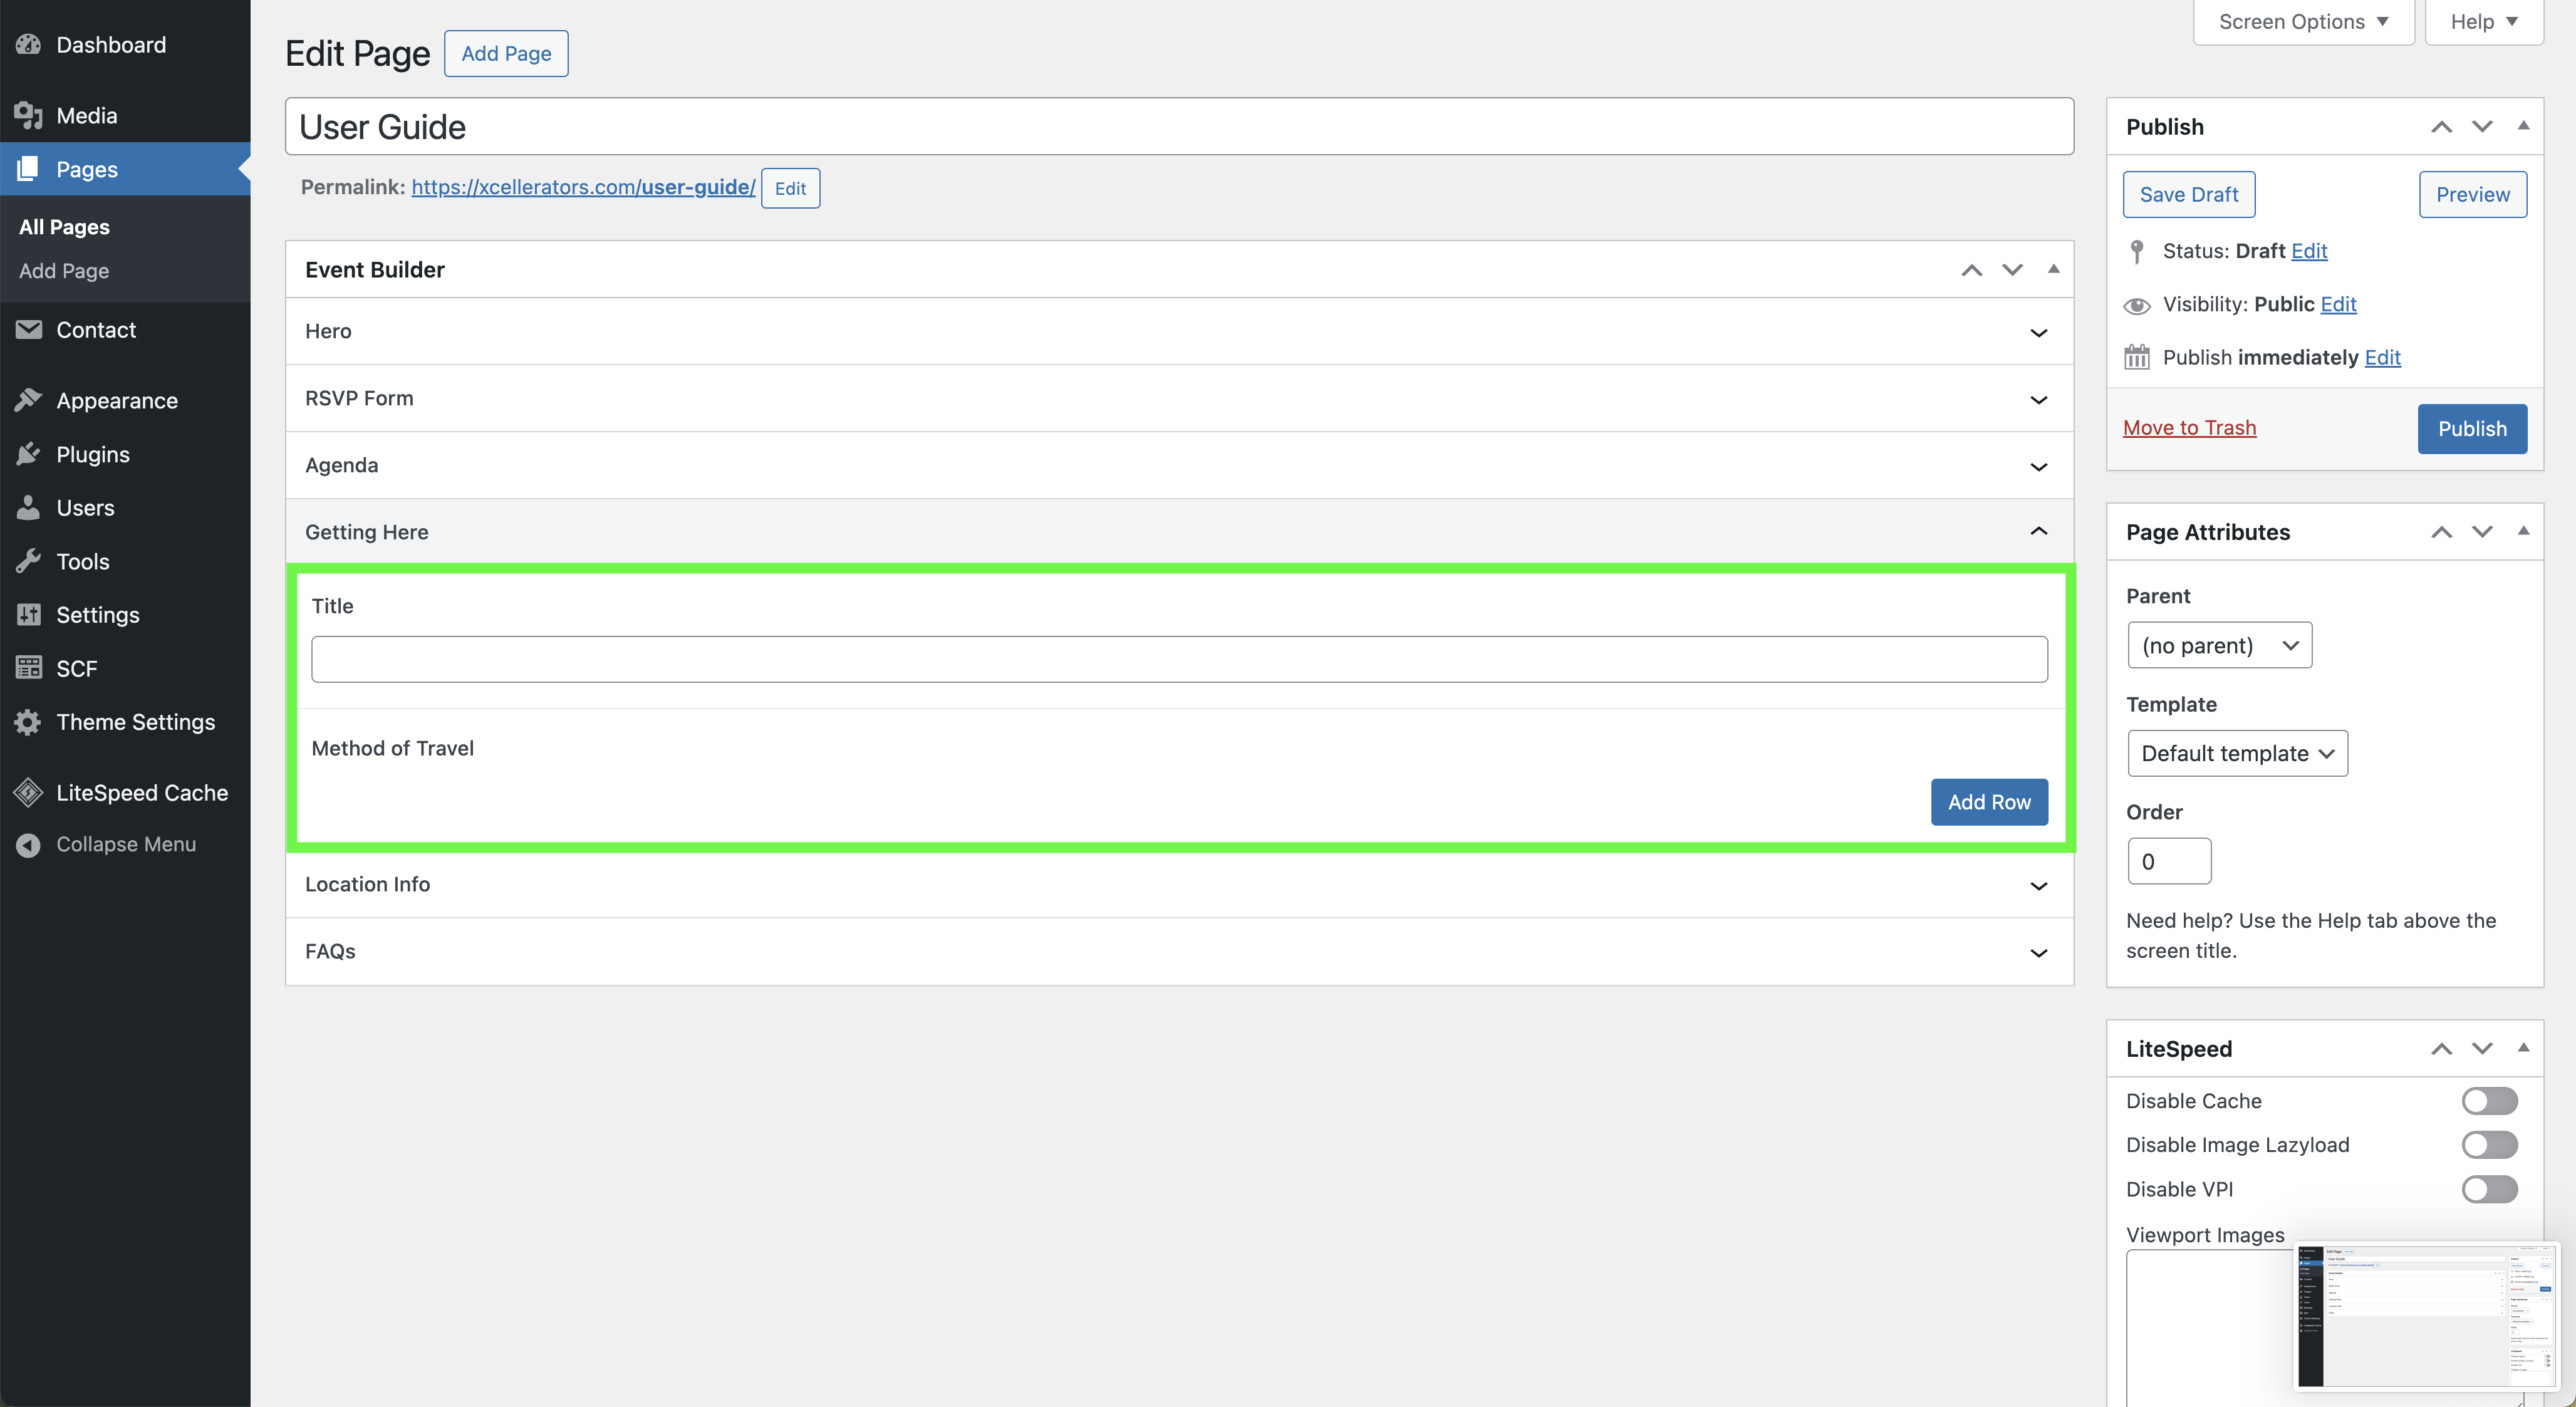
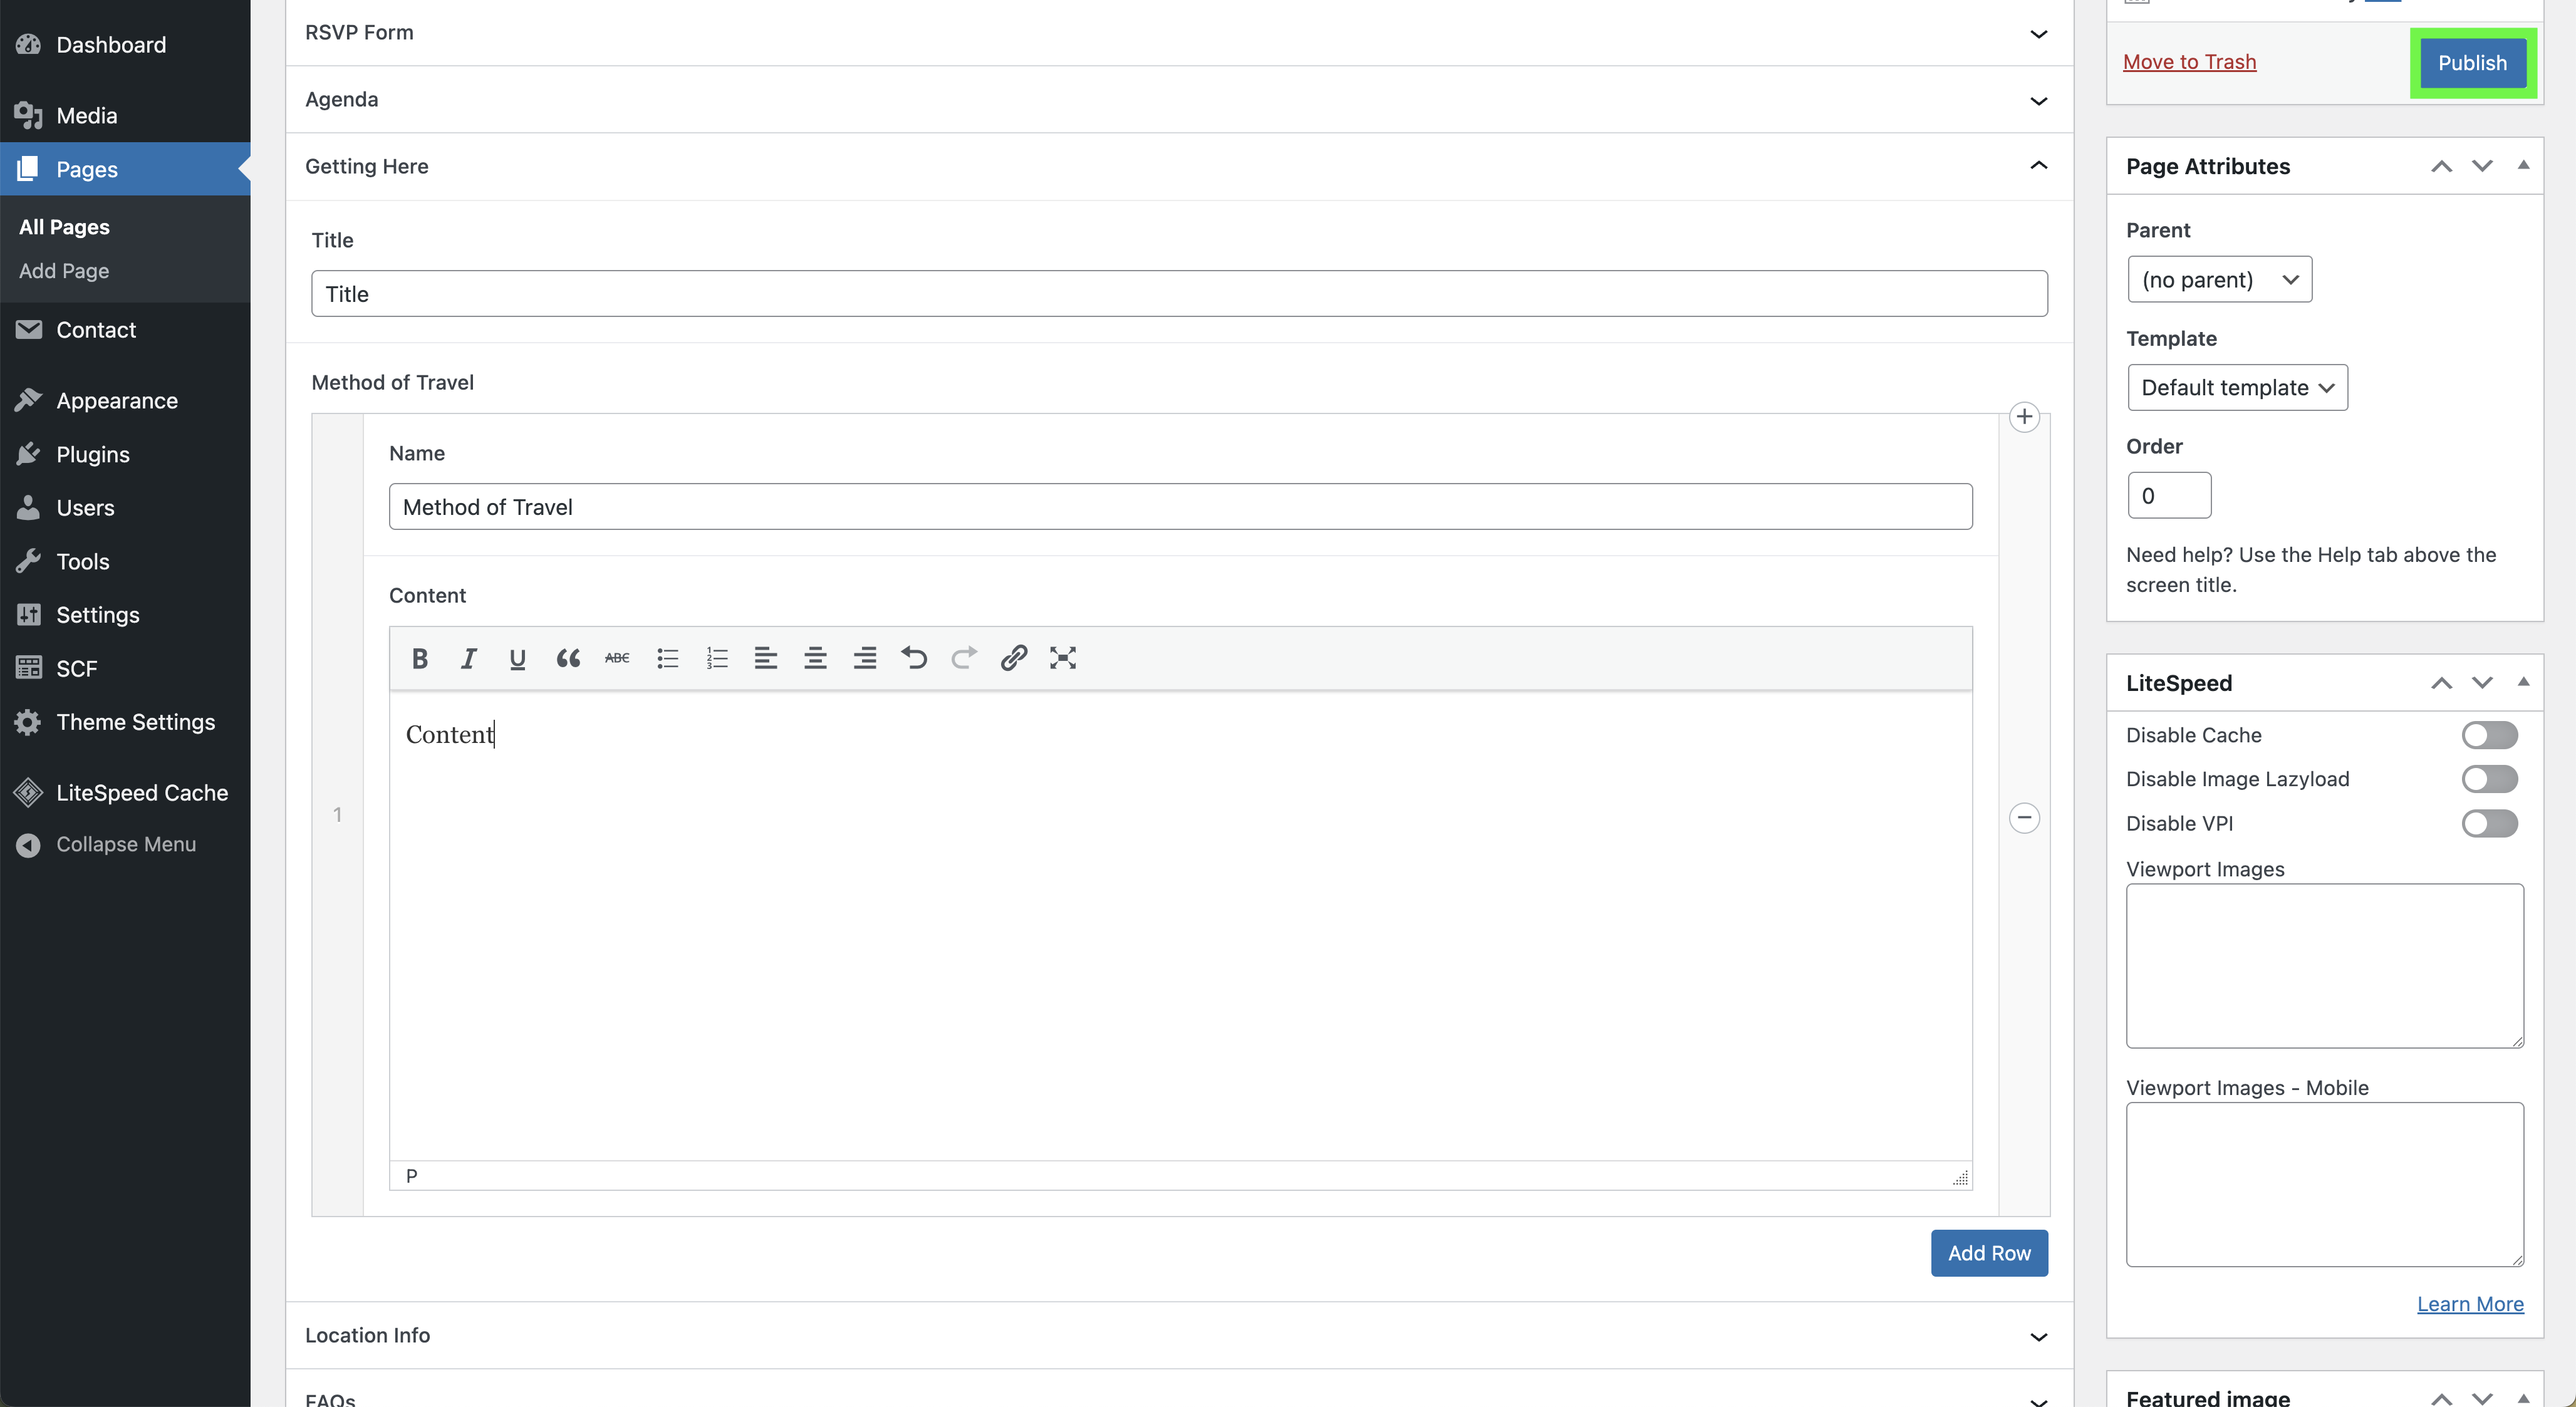
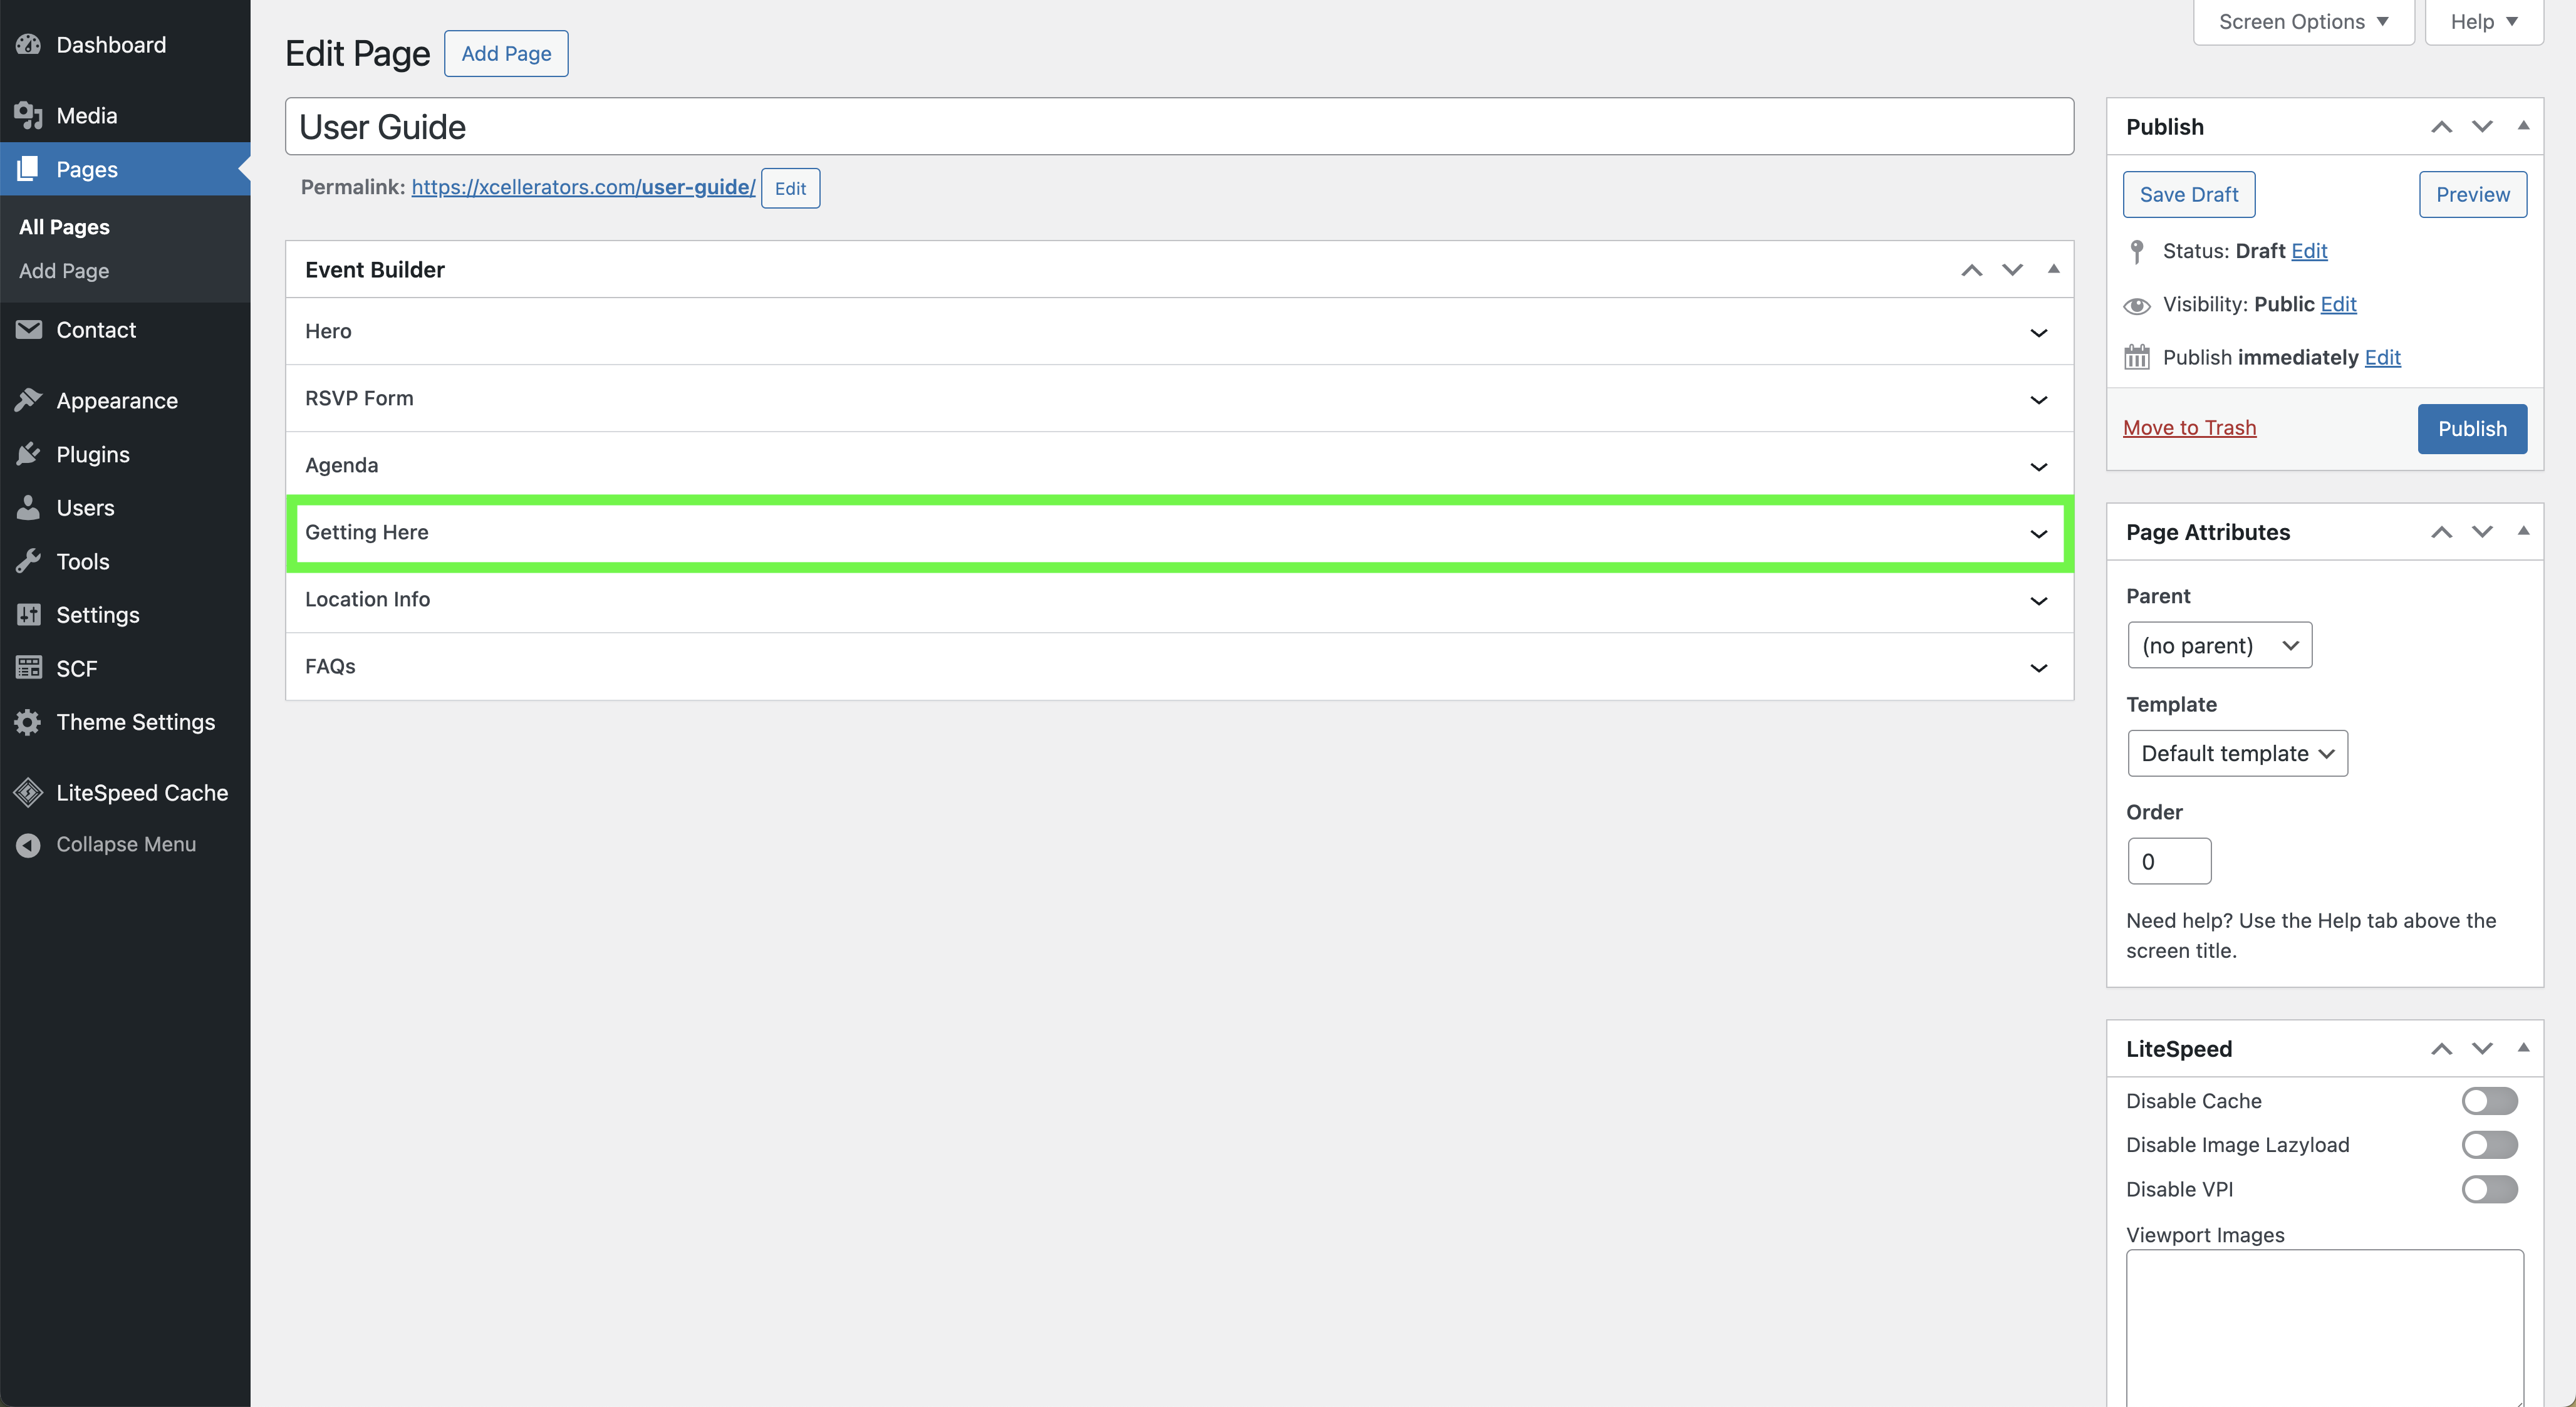
How to Edit the Getting Here section
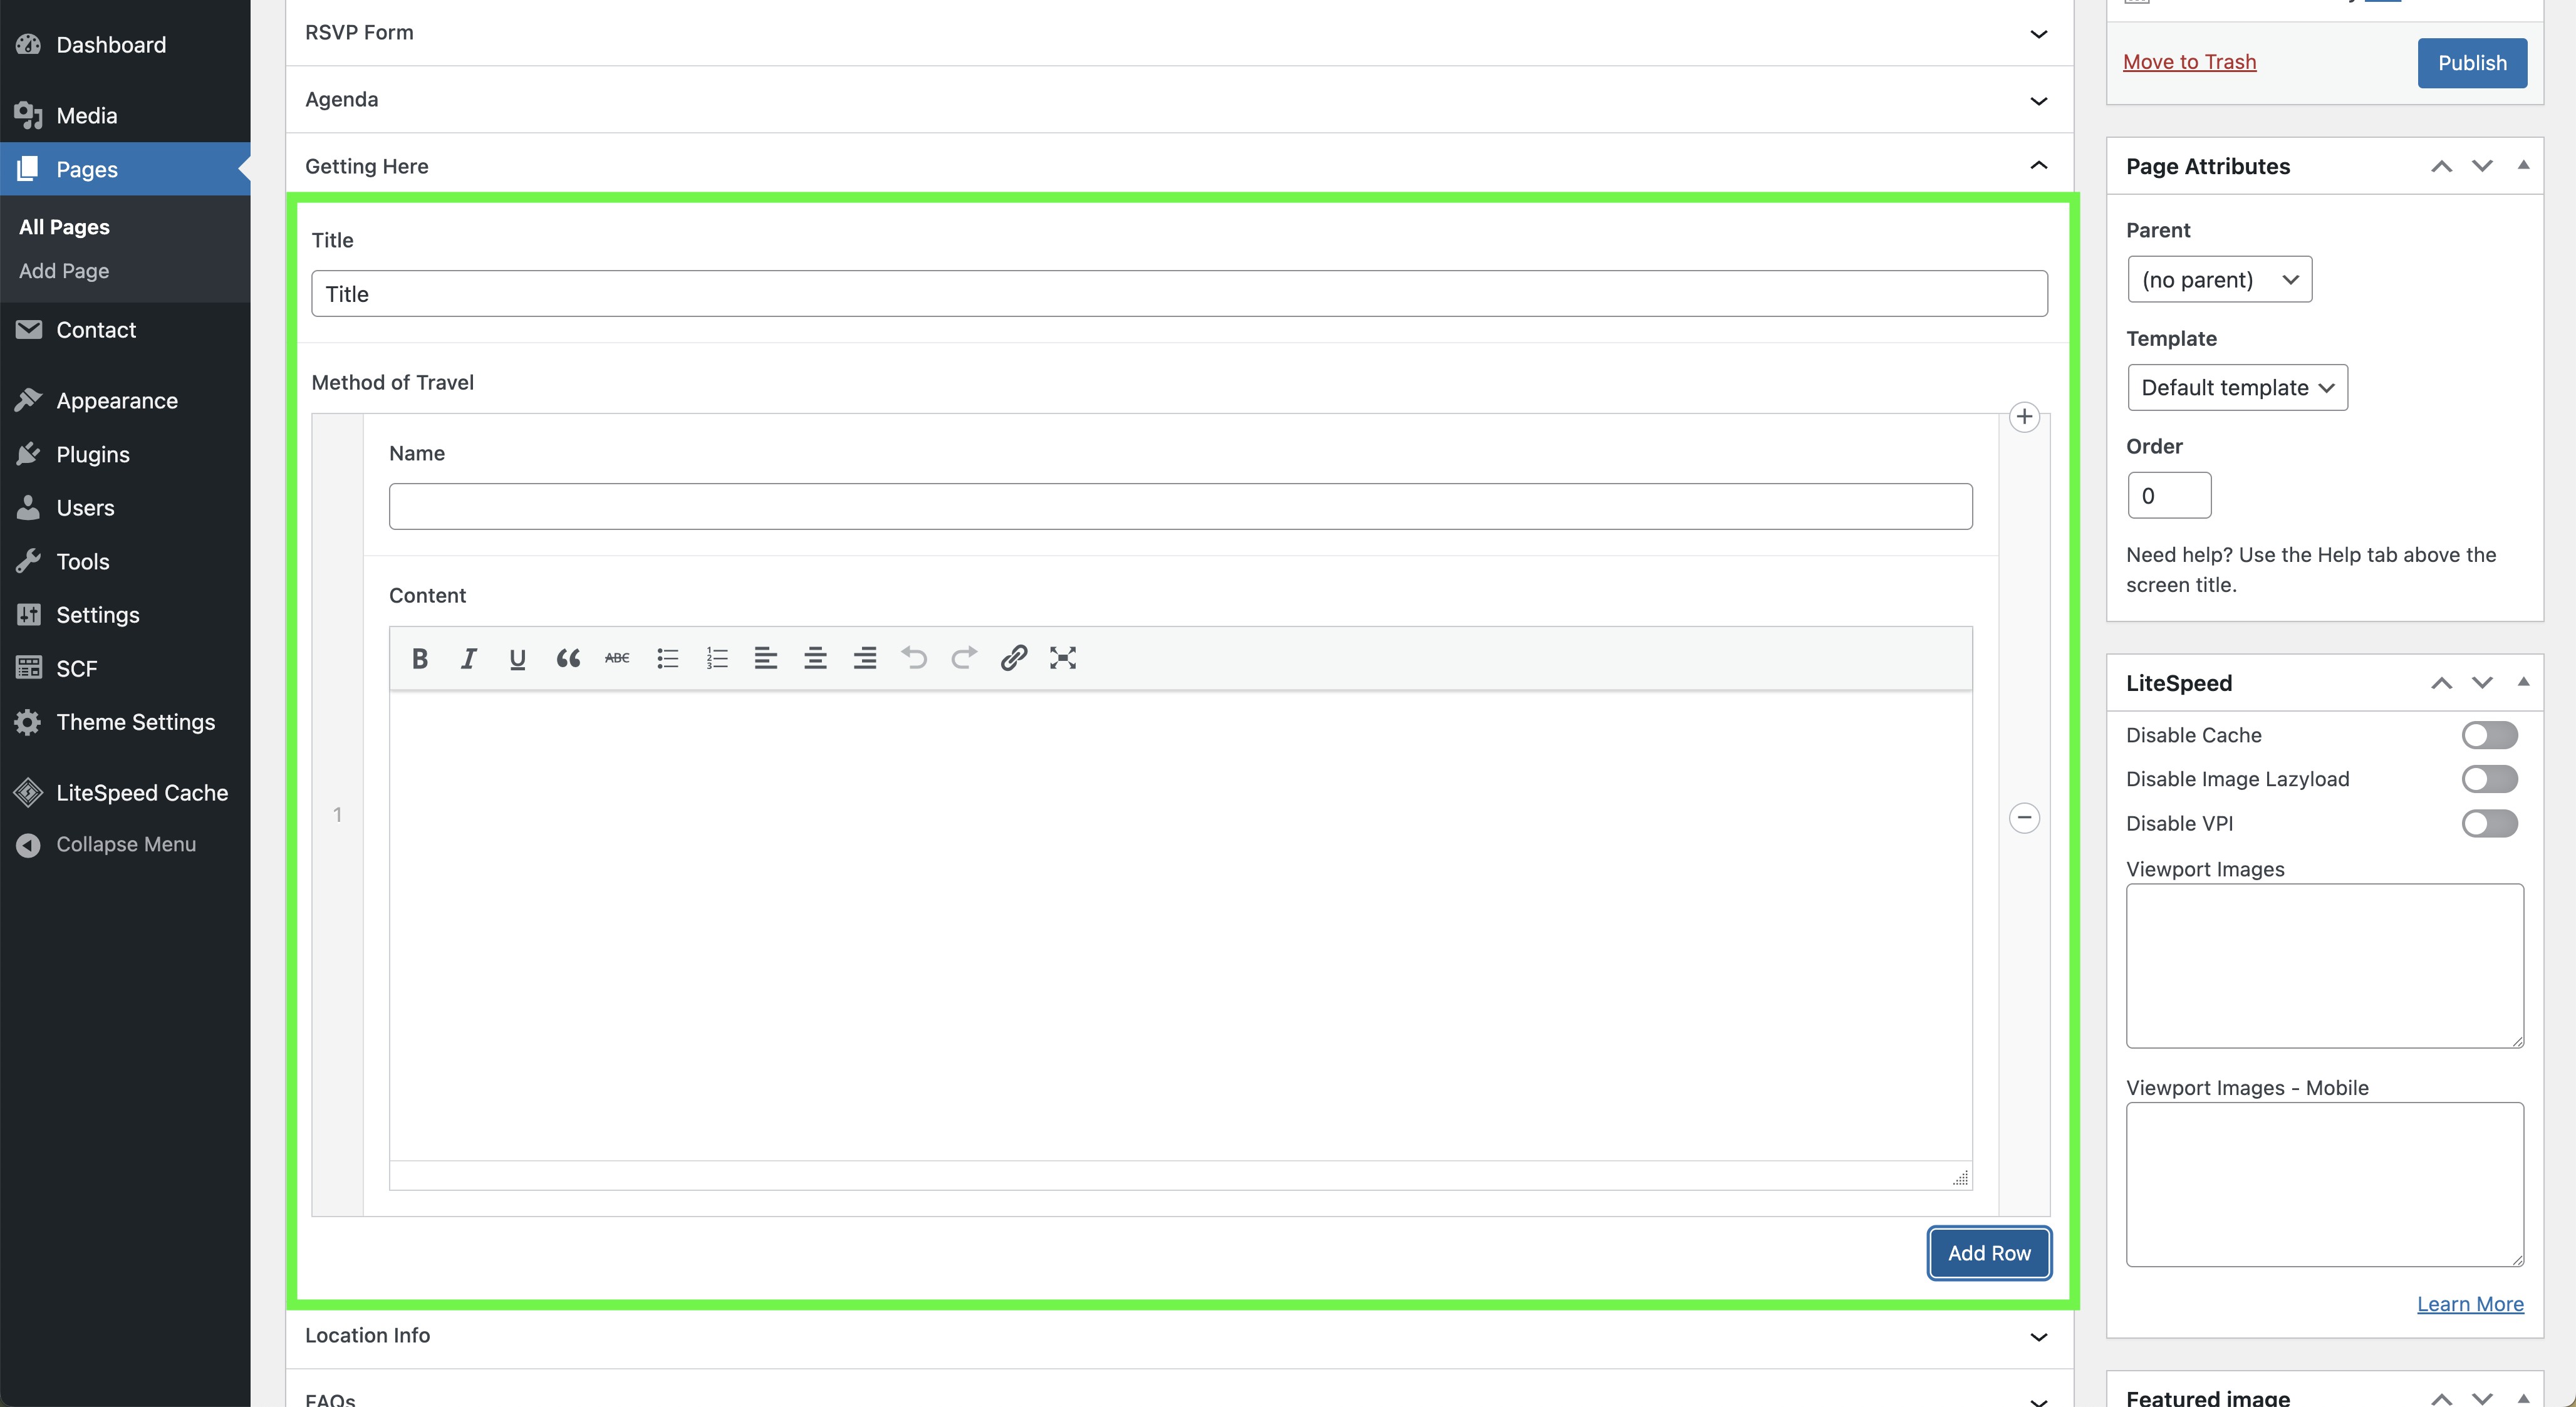
The getting here component is for managing the travel information for the event. You can add multiple methods of travel with a title and content for each.
Finding the Settings
- From the WordPress dashboard, navigate to Pages > All Pages.
- Select the page you want to edit.
- You will find a section or panel titled "Getting Here".
Step-by-Step Instructions
- Click on the Getting Here accordion to open the settings.
- Fill in the Title.
- Click on the Add Row button under Method of Travel to add a new travel method.
- Fill in the Name and Content for the travel method.
- Click the main Update button for the page.
Field Reference
- Title: The title of the getting here section.
- Name: The name of the travel method.
- Content: The content for the travel method.
Best Practices & Tips
- You can add multiple methods of travel.
- Always remember to click the main Update or Save Changes button on the page to make your changes live.
How to Edit the Location Info section
The location info component is for managing the location information for the event. You can add a title and an image for the location.
Finding the Settings
- From the WordPress dashboard, navigate to Pages > All Pages.
- Select the page you want to edit.
- You will find a section or panel titled "Location Info".
Step-by-Step Instructions
- Click on the Location Info accordion to open the settings.
- Fill in the Title.
- Click on the Add Image button to open the media library.
- Select the image you want to use for the location.
- Click the main Update button for the page.
Field Reference
- Title: The title of the location info section.
- Image: The image for the location.
Best Practices & Tips
- Always remember to click the main Update or Save Changes button on the page to make your changes live.
How to Edit the FAQs section
The FAQs component is for managing the frequently asked questions for the event. You can add multiple questions and answers.
Finding the Settings
- From the WordPress dashboard, navigate to Pages > All Pages.
- Select the page you want to edit.
- You will find a section or panel titled "FAQs".
Step-by-Step Instructions
- Click on the FAQs accordion to open the settings.
- Fill in the Title.
- Click on the Add Row button under FAQ to add a new question and answer.
- Fill in the Question and Answer.
- Click the main Update button for the page.
Field Reference
- Title: The title of the FAQs section.
- Question: The question for the FAQ.
- Answer: The answer for the FAQ.
Best Practices & Tips
- You can add multiple questions and answers.
- Always remember to click the main Update or Save Changes button on the page to make your changes live.
How to Edit the RSVP Form
The RSVP Form component is for managing the RSVP form for the event. You can select a form from the available forms.
Finding the Settings
- From the WordPress dashboard, navigate to Pages > All Pages.
- Select the page you want to edit.
- You will find a section or panel titled "RSVP Form".
Step-by-Step Instructions
- Click on the RSVP Form accordion to open the settings.
- Select the Form from the dropdown.
- Click the main Update button for the page.
Field Reference
- Form: The form to be used for RSVP.
Best Practices & Tips
- Make sure you have created the form in the Contact Form 7 plugin before you can select it here.
- Always remember to click the main Update or Save Changes button on the page to make your changes live.
How to Edit the Footer
The footer component is for managing the footer of the website. You can update the footer image.
Finding the Settings
- From the WordPress dashboard, navigate to Theme Settings.
- You will find a section or panel titled "Footer".
Step-by-Step Instructions
- Click on the Footer tab.
- Click on the Add Image button to open the media library.
- Select the image you want to use for the footer.
- Click the main Update button for the page.
Field Reference
- Footer Image: The image for the footer.
Best Practices & Tips
- Always remember to click the main Update or Save Changes button on the page to make your changes live.